How to Manage Front Page Options- Homepage Sortable
- To configure the Home Page Sortable section, you need to navigate from Admin Panel > Appearance > Customize > Front Page Options > Home Page Sortable.
- In this home page Sortable panel, it will include:
-
- Homepage Sortable: In Homepage Sortable you will see section lists – in this Front Page Option you can change the order of all the sections. For eg: If you want the ” Associate” section below the “Counter ” section you can drag the hamburger icon from the Associate section and drop it below the Counter Section.
-

About Us Section
In this section, you can Customize the about section.
- To configure the About Us section, you need to navigate from Admin Panel > Appearance > Customize > Front Page Options> About Us Section.
- In this section panel, you can Enable/Disable the about section to Display/Hide the About Us section on the home page. After enabling the About section, the user will see the following options:
-
-
- About Us Subtitle: This setting allows the user to set the subtitle for the About Us Section.
- Select a content type: You can select a page or post to display in the About Us Section.
- Content Type: This setting allows you to select the kind of content to choose from. It contains select options (Pages, and Post) which allow the user to select a page/post to display for the About Us section
- Selecting Page/Post as Content Type allows you to select a page/post (Existing posts/ pages) to display the title, featured image, and content of that selected post/page for the About Us Section.
- Content Type: This setting allows you to select the kind of content to choose from. It contains select options (Pages, and Post) which allow the user to select a page/post to display for the About Us section
- Description Length(In words): This setting allows you to set the length of the about section’s description in words.
- Button Label: This setting allows the user to set the label for the button.
-

Accordion Section
In this section, you can Customize the Accordion section.
- To configure the About section, you need to navigate from Admin Panel > Appearance > Customize > Front Page Options> Accordion Section.
- In this section panel, you can Enable/Disable the Accordion section to Display/Hide the Accordion section on the home page. After enabling the Accordion section, the user will see the following options:
-
- Section Subtitle: In this section, you can set the subtitle for the section.
- Section Title: In this section, you can set the title for the section.
- Number of Items to Show: You can set the number of items to show in this section.
- Select a content type: page or post for the Accordion Section.
- Content Type: This setting allows you to select the kind of content to choose from. It contains select options (Pages, Post, and Custom) which allow the user to select a page/post to display for the Accordion Section.
- Selecting Page/Post as Content Type allows you to select a page/post (Existing posts/ pages) or add custom content and display the title, and content of that selected post/page for the Accordion Section.
- Custom: You can select a custom content type if you want to add custom content for the Accordion Section.
- Custom Title: In this section, you can add the title for the Accordion post.
- Custom Description: In this section, you can custom add the description for the accordion post.
- Custom: You can select a custom content type if you want to add custom content for the Accordion Section.
- Selecting Page/Post as Content Type allows you to select a page/post (Existing posts/ pages) or add custom content and display the title, and content of that selected post/page for the Accordion Section.
- Content Type: This setting allows you to select the kind of content to choose from. It contains select options (Pages, Post, and Custom) which allow the user to select a page/post to display for the Accordion Section.
-

Associate Section
In this section, you can customize the Associate Section.
- To configure the Associate Section, you need to navigate from Admin Panel > Appearance > Customize > Front Page Options > Associate Section.
- In this section panel, you can enable the section to display the Associate Section on the homepage, Disable it to hide the section on the homepage. After enabling the Associate Section, you can see the following options:
-
- Logo Autoplay: This setting allows the user to enable/disable autoplay for the Associate Section.
- Number of Logos: This setting allows the user to set the number of logos to display in the Associate section.
- Logo: This setting allows the user to set the logo for the Associate Section.
- Logo URL: This setting allows the user to set the URL for the logo.
-

Banner Section
You can set the banner pages/posts and set different other options for the banner Slider section.
- To configure the Banner Slider Section, you need to navigate from Admin Panel > Appearance > Customize > Front Page Options > Banner Slider Section.
- In this section pane, you can Enable/Disable the Banner section to display Banner on the Frontpage otherwise disable to hide.
- Right after enabling the Banner Slider Section, you can set the following settings:
-
- Number of Slider Posts to Show: You can set the number of slides to display in the banner section. *Note: Please input the valid number and save. Then refresh the page to see the change.
- Slider Autoplay: This setting allows the user to enable/disable autoplay for the banner slider.
- Posts Button Label: This setting allows the user to set the posts button label for the banner.
- Select a content type: page or post for the Banner section.
- Content Type: This setting allows you to select the kind of content to choose from. It contains select options (Pages, Or Post) which allow the user to select a page/post to display as a Banner
- Selecting Page/Post as Content Type allows you to select a page/post (Existing post/ page) to display the title, featured image, and content of that selected post/page as a Banner.*After selecting the desired content type as page/ post you can now set the following section for the banner:
- Content Type: This setting allows you to select the kind of content to choose from. It contains select options (Pages, Or Post) which allow the user to select a page/post to display as a Banner
-
-
-
- Subtitle: You can set the subtitle for the banner.
- Button Label: You can set the label for the button.
- Button Link: You can set the link for the button.
-

Counter Section
In this section, you can set the counters.
- To configure the Counters section, you need to navigate from Admin Panel > Appearance > Customize > Front Page Options > Counter Section.
- You can enable the counter section to display the counter section on the front page and disable the counter section to hide.
- After enabling the counters section, the user will see the options to set:
-
-
- Background Color: This setting allows the user to set the Background Color for the Counter section.
- Background Image: This setting allows the user to set the background image for the Counter section.
- Number of Counters: This setting allows the user to set the number of Counters to show for the section.
- Icon: This setting allows the user to set the Icon for the counter.
- Label: This setting sets the Label for the section
- Value: This setting allows the user to set a value for the counter.
- Value Suffix: This setting allows the user to set a value Suffix for the counter.
-


CTA Section
In this section, you can set/ customize the CTA section.
- To configure the CTA section, you need to navigate from Admin Panel > Appearance > Customize > Front Page Options > CTA Section.
- In this section panel, you can enable/Disable the CTA section to display/Hide the CTA Section. After enabling the CTA section, the user will see the following options:
-
- CTA Style: This setting allows you to select between two different styles for the CTA section. You can select the preferred style for the CTA section.
- Style 1: This style will display the CTA section as below:
- CTA Style: This setting allows you to select between two different styles for the CTA section. You can select the preferred style for the CTA section.
-

-
-
-
- Style 2: This style will display the CTA section as below:
-
-

-
-
- Background Color: This setting allows the user to set the Background Color for the CTA section.
- Background Image: This setting allows you to add a background Image for the CTA Section.
- CTA Title: This setting allows the user to set the title for the CTA section.
- CTA Button label: This setting allows the user to set the button label for the Section
- Button Link: This setting sets the Link for the button.
-

Insurers Bar Section
In this section, you can set/ customize the Insurers Bar Section.
- To configure the Insurers Bar Section, you need to navigate from Admin Panel > Appearance > Customize > Front Page Options > Insurers Bar Section.
- In this section panel, you can Display/Hide the Insurers Bar Section. After enabling the Insurers Bar Section, the user will see the following options:
-
-
- Insurers Image: This setting allows the user to set the background image for the Insurers Bar Section.
- Section Subtitle: This setting allows the user to set the Subtitle for the Insurers Bar Section.
- Section Title: This setting allows the user to set the Title for the Insurers Bar Section.
- Number of Fields: This setting allows the user to set the number of Progress bars to show on the section.
- Label: This setting sets the Label for the section.
- Value: This setting allows the user to set a value for the counter.
-

Latest News Section
In this section, you can customize the Latest News Section.
- To configure the Latest News Section, you need to navigate from Admin Panel > Appearance > Customize > Front Page Options > Latest News Section.
- In this section panel, you can enable the section to display the Latest Post section on the homepage, Disable the section to Hide the Latest News Section on the homepage. After enabling the Latest News Section, the user will see the following options:
-
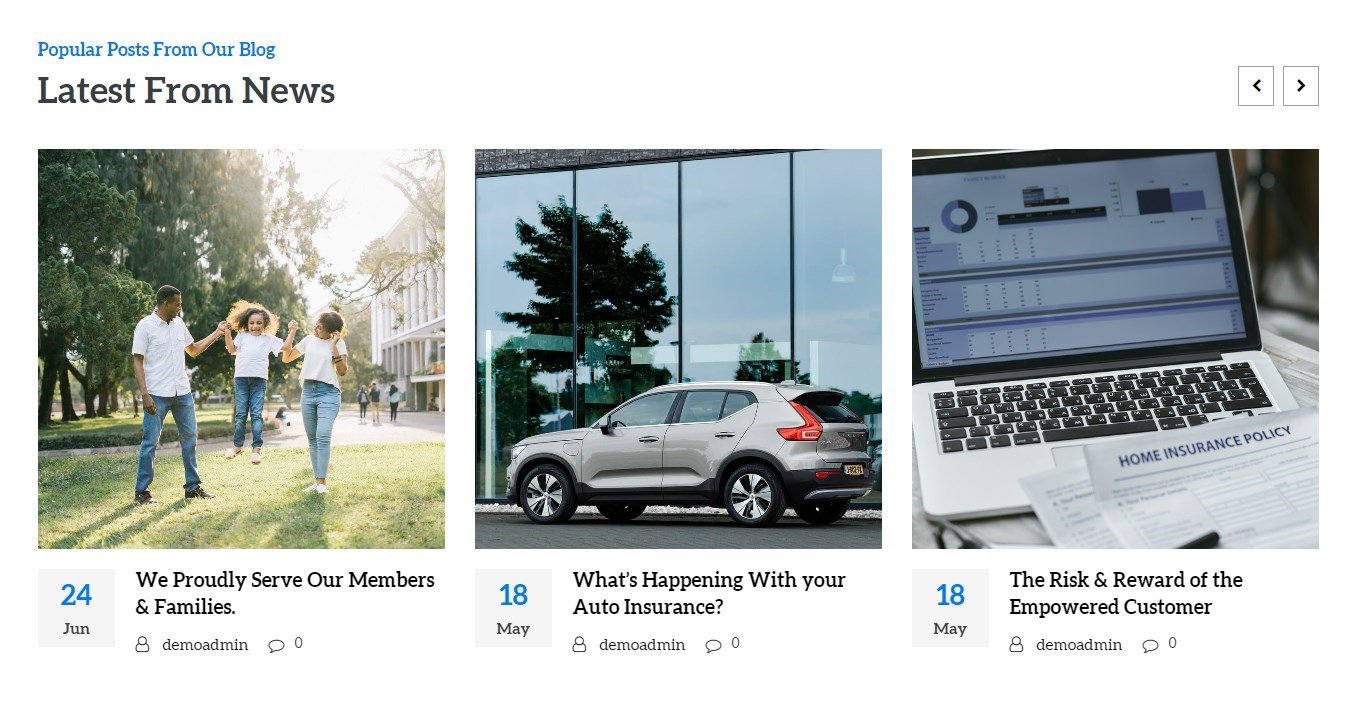
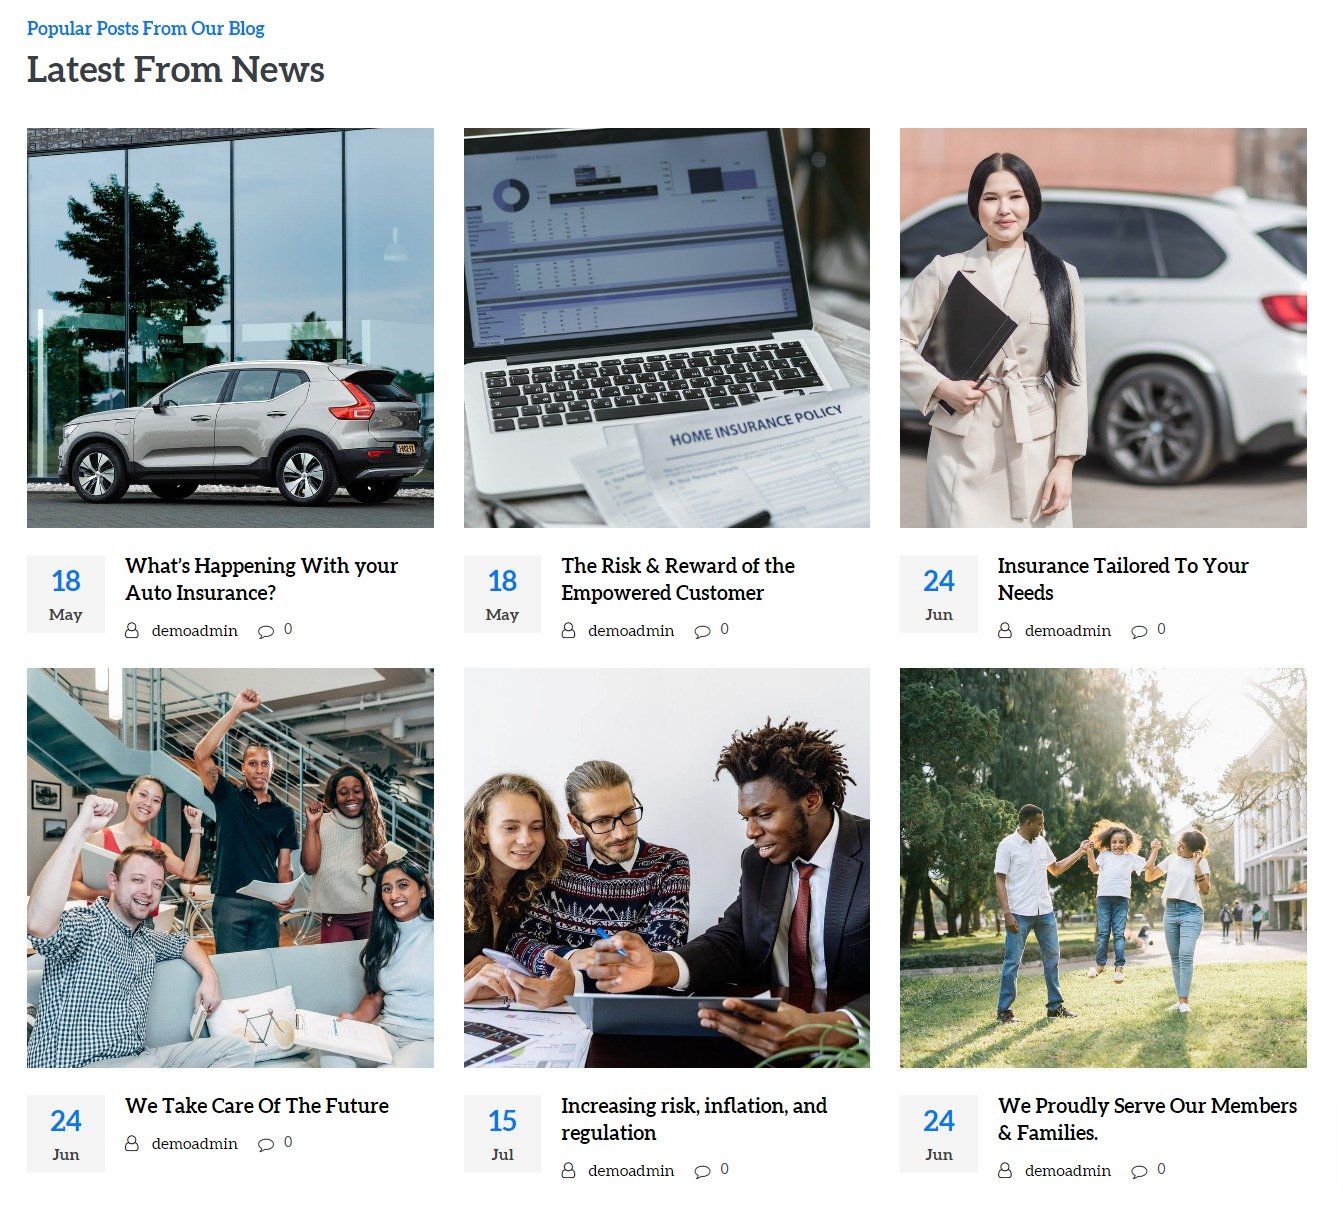
- Latest News Style: This setting allows you to select between three different styles for the Latest News Section. You can select the preferred Latest News style for the Latest News Section.
- Style 1: In this style the Latest News Section will look like this:
- Latest News Style: This setting allows you to select between three different styles for the Latest News Section. You can select the preferred Latest News style for the Latest News Section.
-

-
-
-
- Style 2: In this style the Latest News Section will look like:
-
-

-
-
- Section Subtitle: This setting allows the user to set the subtitle for the section.
- Section Title: This setting allows the user to set the title for the section.
- Number of Items to show: This setting will allow the user to set the number of posts to display.
- Autoplay: This setting is for the Latest News Style -1, this option allows the user to enable/disable autoplay for the latest news section.
- Description length (Words): This setting allows you to set the length of the Latest News Section’s content in words.
- Select a content type: In this setting you can select a page or post for the Latest News Section.
- Content Type: This setting allows you to select the kind of content to choose from. It contains select options (Pages, Post, and Category) which allow the user to select a page/post to display in the Latest News Section.
- Selecting Pages/Posts/Category as Content Type allows you to select a page/post (Existing posts/ pages) or category to display to get the content of that selected post/page for the Latest News Section.
- Content Type: This setting allows you to select the kind of content to choose from. It contains select options (Pages, Post, and Category) which allow the user to select a page/post to display in the Latest News Section.
-

Pricing Table Section
In this section, you can customize the Pricing Table section.
- To configure the Pricing Table section, you need to navigate from Admin Panel > Appearance > Customize > Front Page Options > Pricing Table Section.
- In this section panel, you can enable the section to display the Pricing Table Section on the homepage, Disable it to Hide the Section on the homepage. After enabling the Pricing Table Section, section, you can see the following options:
-
-
- Section Subtitle: This setting allows the user to set the subtitle for the section.
- Section Title: This setting allows the user to set the Title for the section.
- Number of Pricing Tables to Show: This section will allow the user to set the number of posts to display for the section.
- Header Text: This setting allows you to set the header that describes the product.
- Sub Header Text: This setting allows you to set the subheader that describes the product.
- Price: In this setting, you can set the price of the described product.
- Duration: In this setting you can set the duration of the product.
- Details List: In this setting, you can add the features of the product – you can add/remove details to describe the product.
- Button label: This setting allows the user to set the button label for the Section
- Button Link: This setting sets the Link for the button.
- Badge Label: This setting allows you to add a badge level that better identifies the product.
-


Service Section
In this section, you can set/ customize the Service section.
- To configure the Service section, you need to navigate from Admin Panel > Appearance > Customize > Front Page Options > Service Section.
- In this section panel, you can enable/Disable the Service section to display/Hide the Service Section. After enabling the Service Section, the user will see the following options:
-
- Service Style: This setting allows you to select between two different styles for the Service Section. You can select the preferred style for the Service Section.
- Style 1: In this style, the service section will look like this:
- Service Style: This setting allows you to select between two different styles for the Service Section. You can select the preferred style for the Service Section.
-

-
-
-
- Style 2: In this style, the service section will look like this:
-
-

-
-
- Background Color: This setting allows the user to set the Background Color for the Service section.
- Background Image: This setting allows the user to set the background image for the Service section.
- Section Subtitle: This setting allows the user to set the subtitle for the Service section.
- Section Title: This setting allows the user to set the title for the Service section.
- Number of items to show: This setting will include the number of posts/ pages to display.
- Description Length(In words): This setting allows you to set the length of the service section’s description in words.
- Select a content type: In this settings, you can select a page or post for the Service section
- Content Type: This setting allows you to select the kind of content to choose from. It contains select options (Pages, Post, and Category) which allow the user to select a page/post to display in the Service Section.
- Selecting Pages/Posts/Category as Content Type allows you to select a page/post (Existing posts/ pages) or category to display the title, featured image, and content of that selected post/page for the Service Section.
- Content Type: This setting allows you to select the kind of content to choose from. It contains select options (Pages, Post, and Category) which allow the user to select a page/post to display in the Service Section.
- Service Icon: This setting allows the user to set the Icon for the service section. *Note: the icons will be displayed in the same size despite the difference in icon size.
- Button label: This setting allows the user to set the button label for the Section.
- Button Link: This setting sets the Link for the button.
-


Team Section
In this section, you can set/ customize the team section.
- To configure the Team section, you need to navigate from Admin Panel > Appearance > Customize > Front Page Options > Team Section.
- In this section panel, you can enable/Disable the team section to display/Hide the Team Section. After enabling the Team section, the user will see the following options:
-
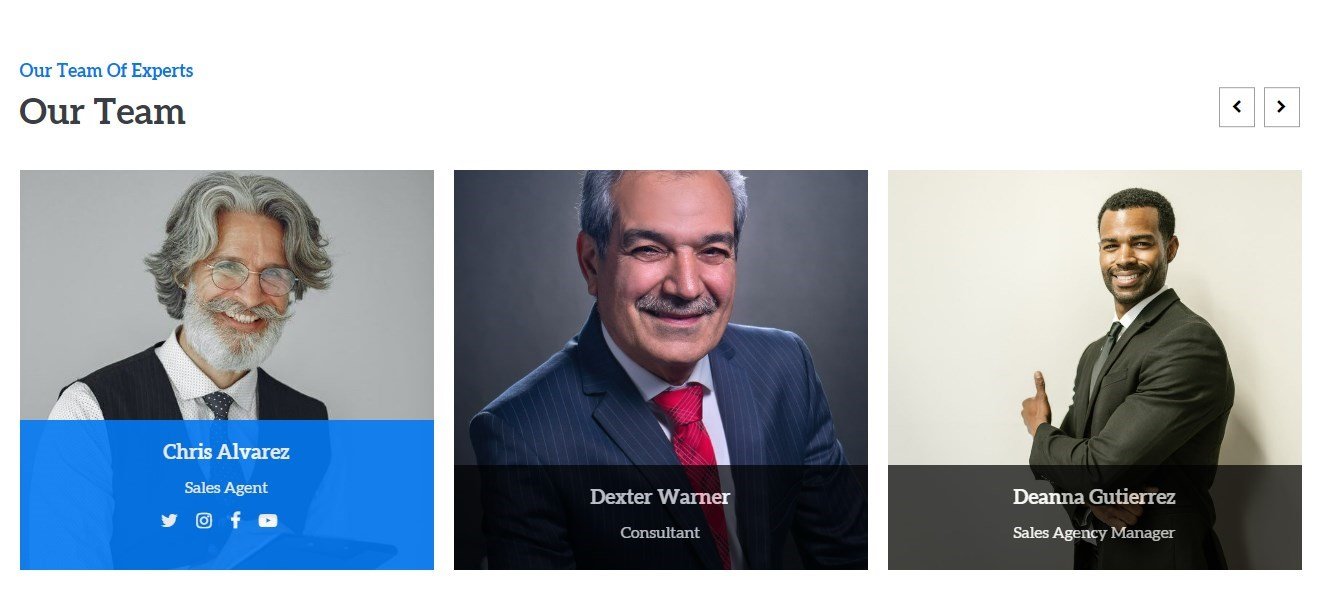
- Team Style: This setting allows the user to select between two different styles for the Team Section.
- Style 1: This style will display the team section as below:
- Team Style: This setting allows the user to select between two different styles for the Team Section.
-

-
-
-
- Style 2: This style will display the team section as below:
-
-

-
-
-
- Style 3: This style will display the team section as below:
-
-

-
-
- Section Subtitle: This setting allows the user to set the section subtitle for the Team Section.
- Section Title: This setting allows the user to set the title for the Team section.
- Number of items to show: This setting will include the number of posts/ pages to display.
- Autoplay: This setting allows the user to enable/disable autoplay for the Team Section
- Select a content type: page or post for the Team section.
- Content Type: This setting allows you to select the kind of content to choose from. It contains select options (Pages, and Post) which allow the user to select a page/post to display in the Team section
- Selecting Pages/Posts as Content Type allows you to select a page/post (Existing posts/ pages) to display the title, featured image, and content of that selected post/page for the Team Section. *After selecting the content type as pages/posts user needs to select the following:
- Content Type: This setting allows you to select the kind of content to choose from. It contains select options (Pages, and Post) which allow the user to select a page/post to display in the Team section
-
-
-
- Select Designation: This setting allows the user to set the Designation of the team members.
- Social Icons: This setting allows the users to set the social link of the selected team members.
-


Testimonial Section
In this section, you can set/ customize the Testimonial section.
- To configure the Testimonial Section, you need to navigate from Admin Panel > Appearance > Customize > Front Page Options > Testimonial Section.
- In this section panel, you can enable/Disable the Testimonial section to display/Hide the Testimonial Section. After enabling the Testimonial Section, the user will see the following options:
-
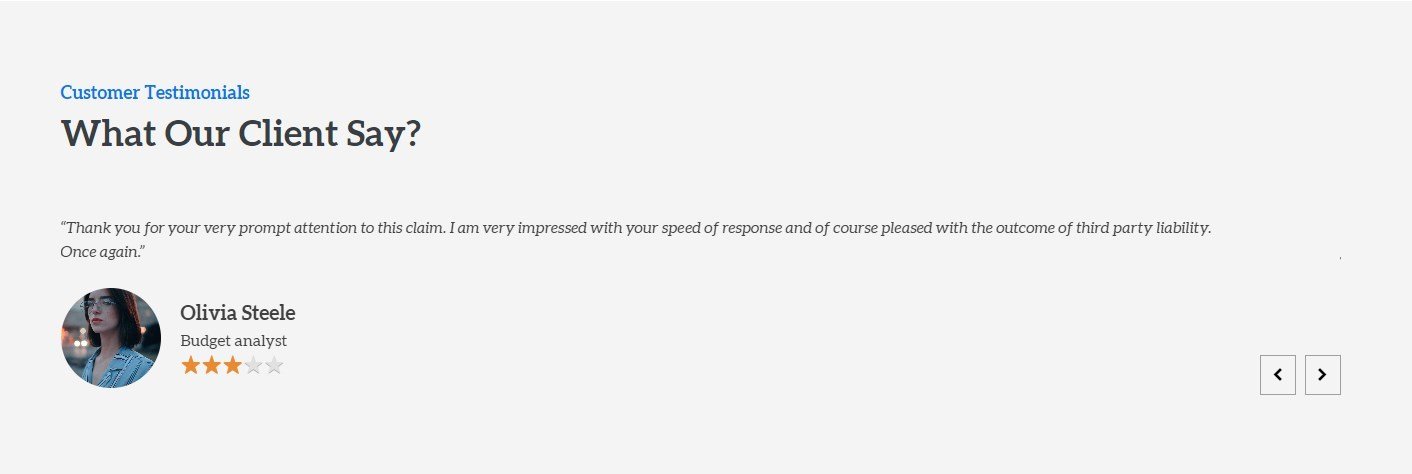
- Testimonial Style: Here this setting allows the user to select between two different styles for the Testimonial Section.
- Style 1: The testimonial section in this style will be displayed as below:
- Testimonial Style: Here this setting allows the user to select between two different styles for the Testimonial Section.
-

-
-
-
- Style 2: The testimonial section in this style will be displayed as below:
-
-

-
-
- Section Subtitle: This setting allows the user to set the section Subtitle for the Testimonial Section.
- Section Title: This setting allows the user to set the title for the Testimonial Section.
- Select a content type: page or post for the Testimonial Section.
- Autoplay: This setting allows the user to Enable/Disable autoplay for the section.
- Content Type: This setting allows you to select the kind of content to choose from. It contains select options (Pages, and Post) which allow the user to select a page/post to display in the Testimonial Section.
- Selecting Pages/Posts as Content Type allows you to select a page/post (Existing posts/ pages) to display the title, featured image, and content of that selected post/page for the Testimonial Section. *After selecting the content type as pages/posts user needs to select the following:
- Number of items to show: This setting will include the number of posts/ pages to display. Note: Min 1 & Max 12. Please input the valid number and save it. Then refresh the page to see the change.
- Select Designation: This setting allows the user to set the Designation of the clients.
- Rating: This setting allows you to set the rating from the clients.
-

*Note: Click on Publish to save the changes.