How to Manage Theme Options—Parallax Option
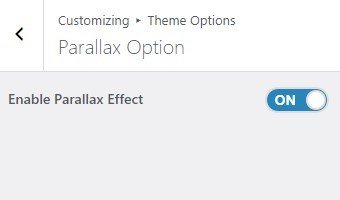
In this theme option, you can customize the Parallax options.
- Navigate from Customize > Theme Options > Theme Layout Options.
- In the Parallax Options, there are the following settings:
-
- Enable Parallax Effect: The Topbar menu can be enabled/disabled using these options.

Theme Layout Options
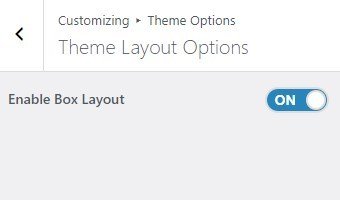
In this theme option, you can customize the Theme Layout options.
- Navigate from Customize > Theme Options > Theme Layout Options.
- In the Theme Layout Options, there are the following settings:
-
- Enable Box Layout: The Topbar menu can be enabled/disabled using these options.
Typography
In this theme options setting, you can change the fonts of the site. In order to do so, follow the following steps:
- Navigate from the Customize > Theme Options > Typography.
- You will see different font-family options for different sections.
- Site Title Font Family: This setting allows you to easily change the fonts of the site title by selecting the font family among the various option.
- Site Description Font Family: This setting allows you to easily change the fonts of the site’s description by selecting the font family among the various option.
- Header Font Family: This setting allows you to easily change the fonts of the Header of your site by selecting the font family among the various option.
- Body Font Family: This setting allows you to easily change the fonts of the site Body section by selecting the font family among the various option.

Excerpt
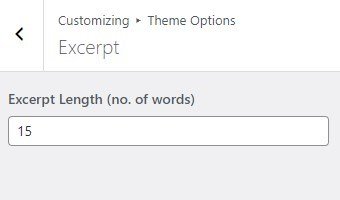
In this theme option, you can set the Excerpt Length for the archive, blog posts-set the number of words you want to display.
- Navigate through the Customize > Theme Options > Excerpt.
- In the Excerpt Option, the user will see the following options:
- Excerpt Length (No. Of Words): This option allows you to set the excerpt length.
Page Loader
In this section, you can set the loader on the screen while the rest of the page’s content is still loading.
- You can customize this section from Customize > Theme Options > Page Loader.
- In the Page loader section there you can Enable/Disable the loader then:
*After enabling Page Loader, you will see the following option:
-
- Loader Style: This setting allows you to select the loading loader style.
Breadcrumb
In this theme option, you can enable/disable Breadcrumb and set a separator for breadcrumbs.
- Navigate from the Customize > Theme Options > Breadcrumbs.
- In the breadcrumb settings, enable the toggle button for Breadcrumbs.
*After enabling the breadcrumbs setting, then you will see the following options
-
- Separator: You can set any separator here for the breadcrumbs, the breadcrumbs will be displayed on any page or post.
Archive Layout
In this theme option, you can choose the layout of the Archives.
- Navigate from the Customize > Theme Options > Archive Layout.
- In the Archive Layout option, you will see the following settings:
-
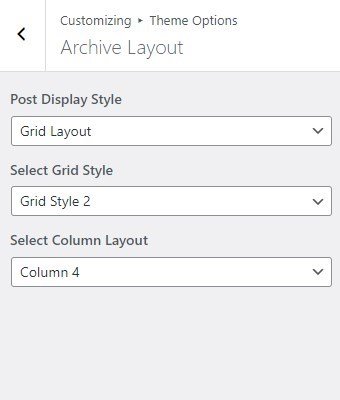
- Post Display Style: This option allows you to select whether to display posts in the archive as a List or Grid layout.
- Grid Layout: If you select to display the posts as Grid Layout—you can set the grid style.
- Select Grid Style: In this setting, you can select the number of columns for the grid layout. You can select between:
-
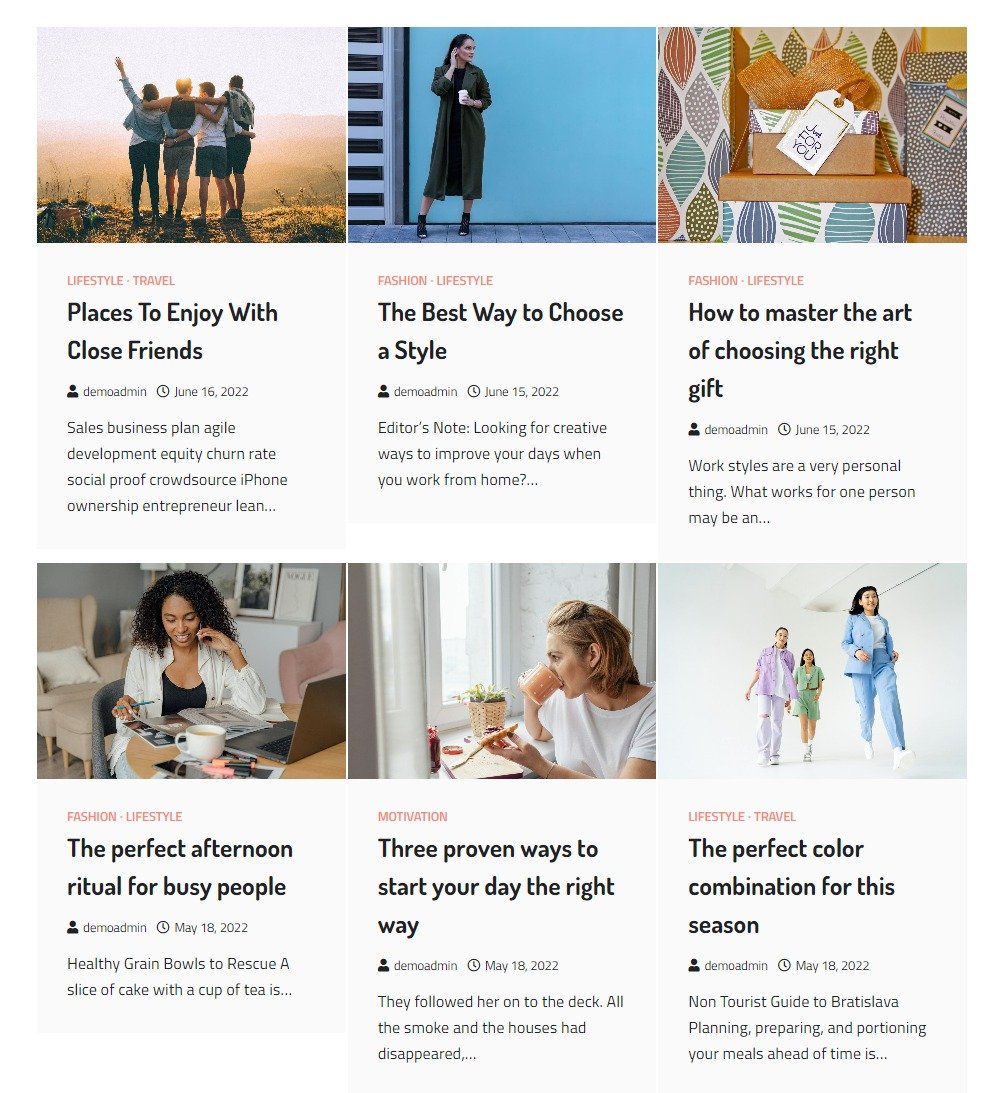
- Grid Style 1: This grid style will look as following:
-
- Select Grid Style: In this setting, you can select the number of columns for the grid layout. You can select between:
- Grid Layout: If you select to display the posts as Grid Layout—you can set the grid style.
- Post Display Style: This option allows you to select whether to display posts in the archive as a List or Grid layout.
-
-
-
-
-
-
-
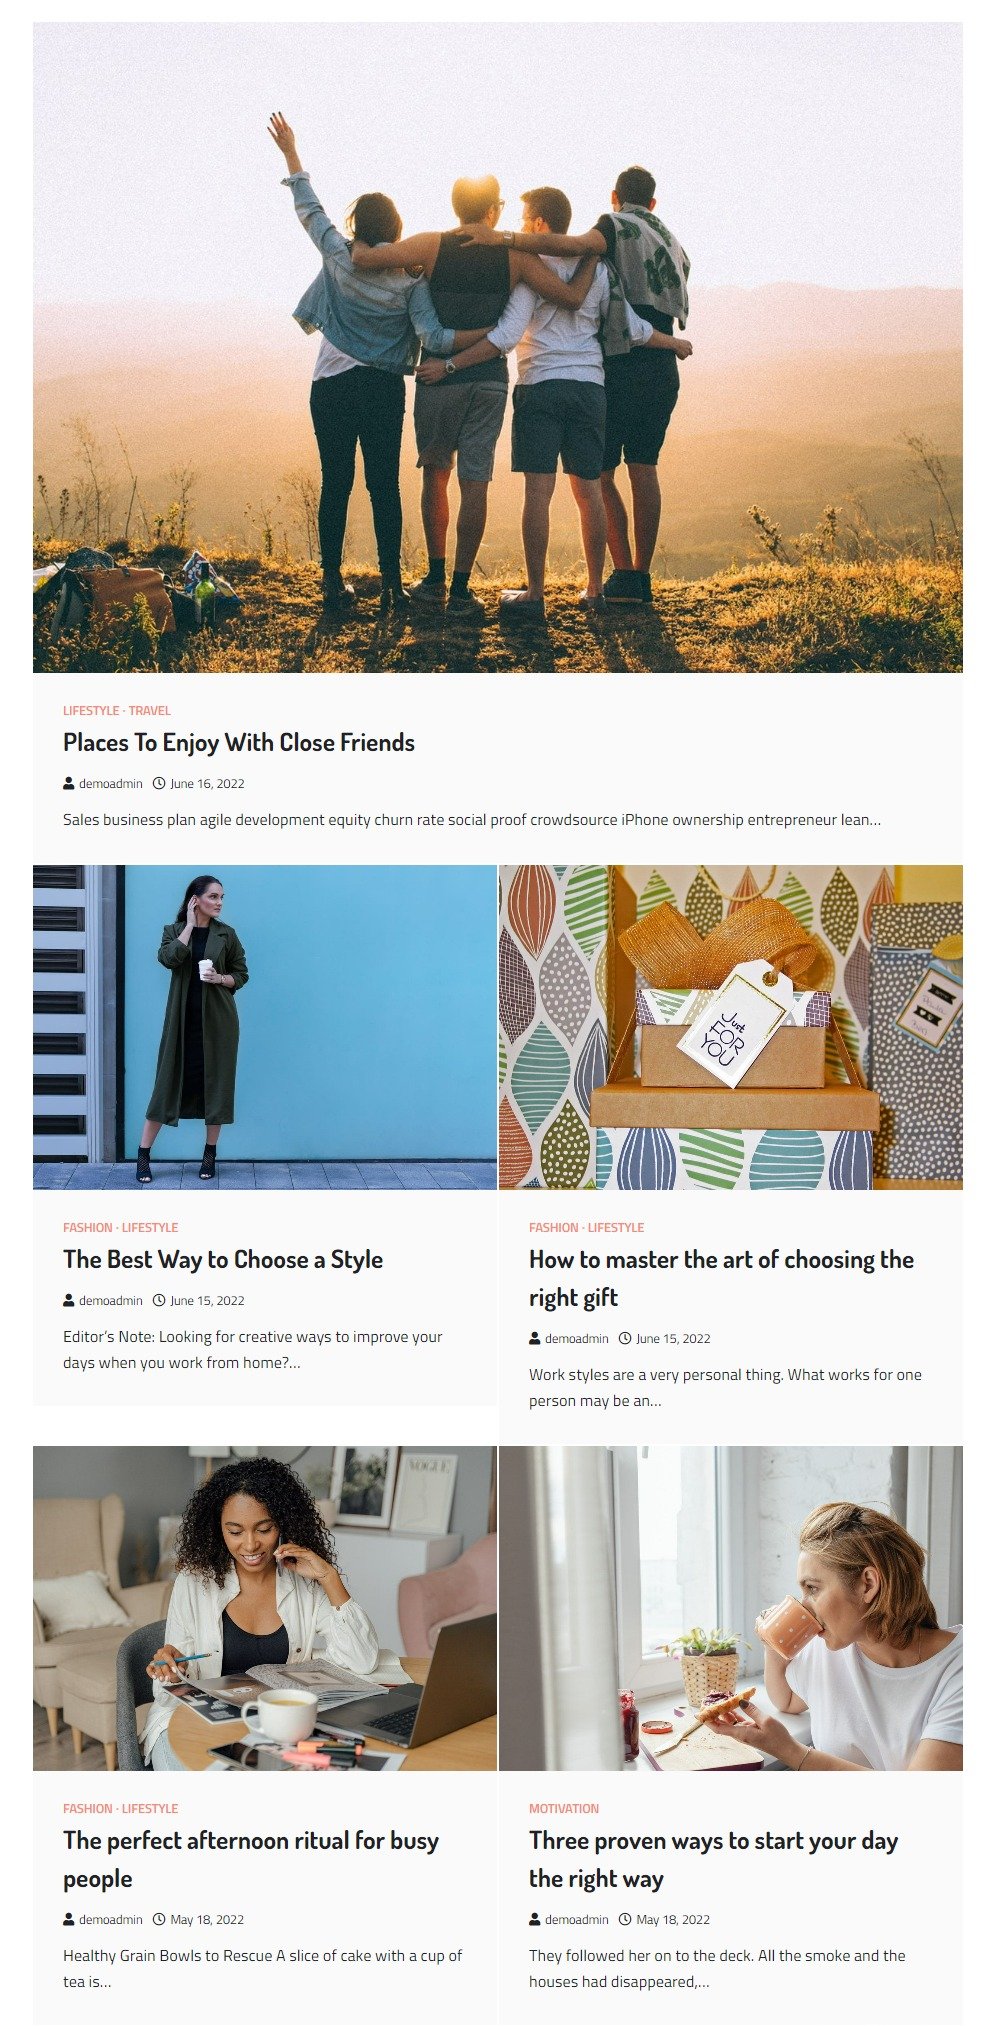
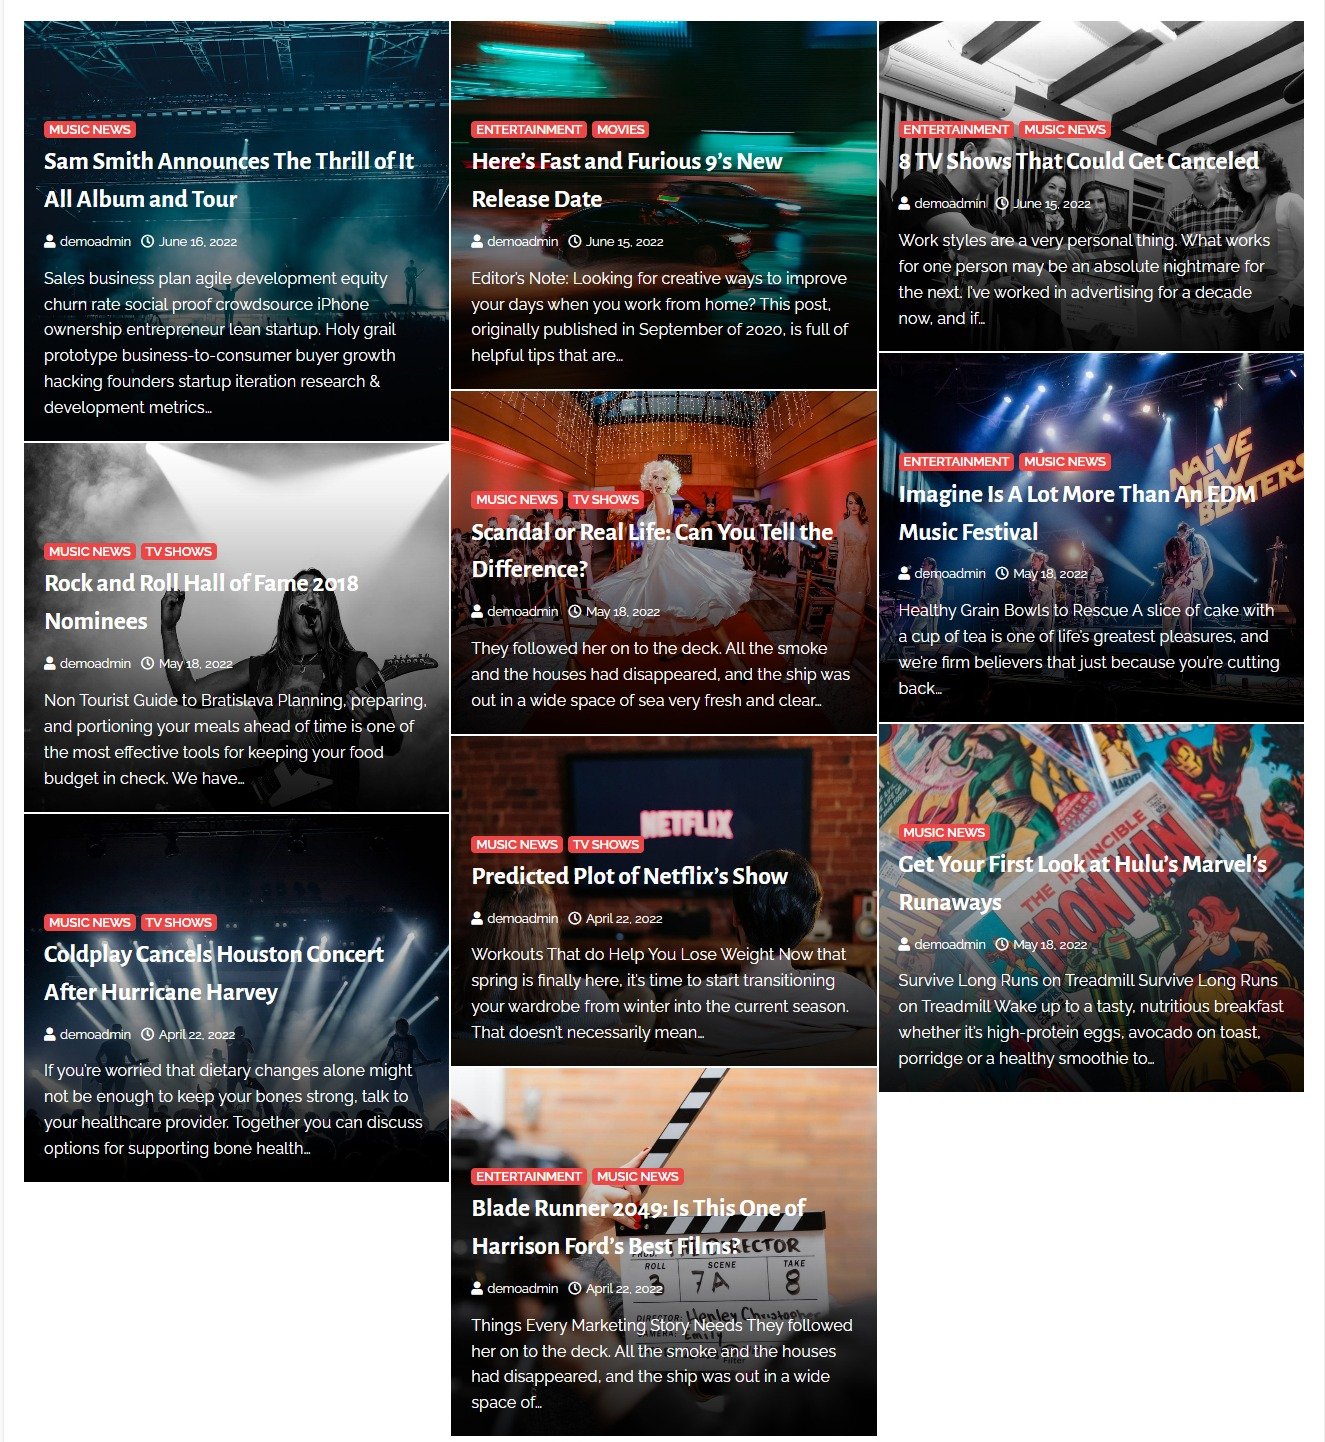
- Grid Style 2: This grid style will look as following:
-
-
-
-
-
-
-
-
-
-
-
- Grid Style 3: This grid style will look as following:
-
-
-
-
-

-
-
-
-
- Select Column Layout: You can select the column layout for the archive and blog page.
- List Layout: If you select to display the posts as List Layout—you can set the List style.
- Select List Style: In this setting, you can select the list style between:
-
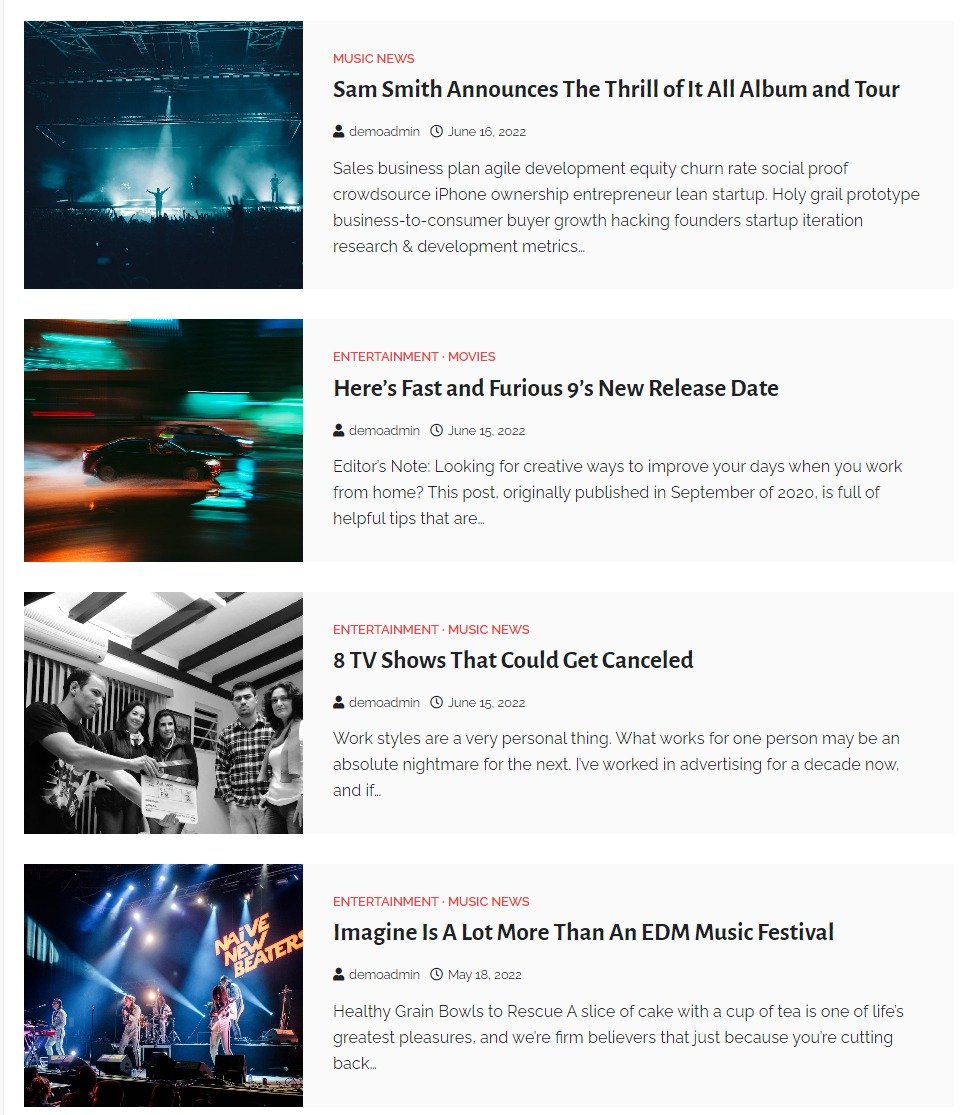
- List Style 1: In this setting, the image will be left-aligned.
-
- Select List Style: In this setting, you can select the list style between:
-
-
-
-
-
-
-
-
-
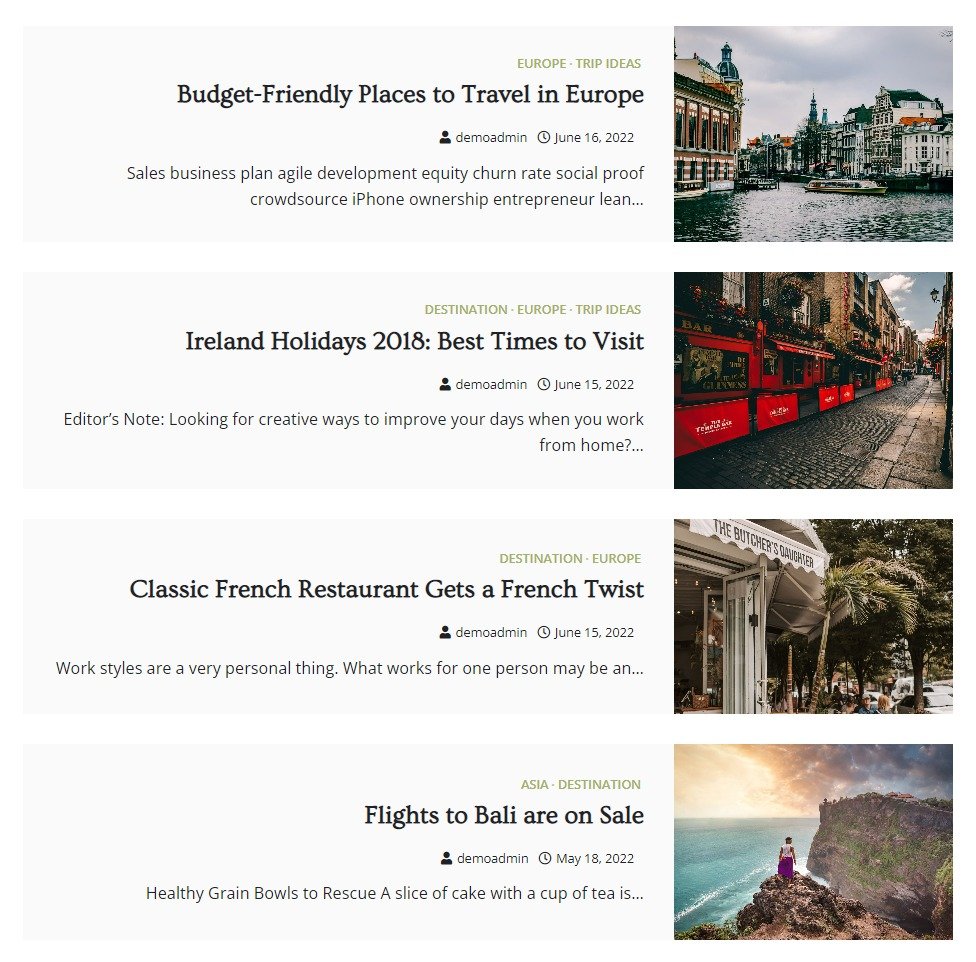
- List Style 2: In this setting, the image will be Right aligned.
-
-
-
-
-
-
-
-
-
-
-
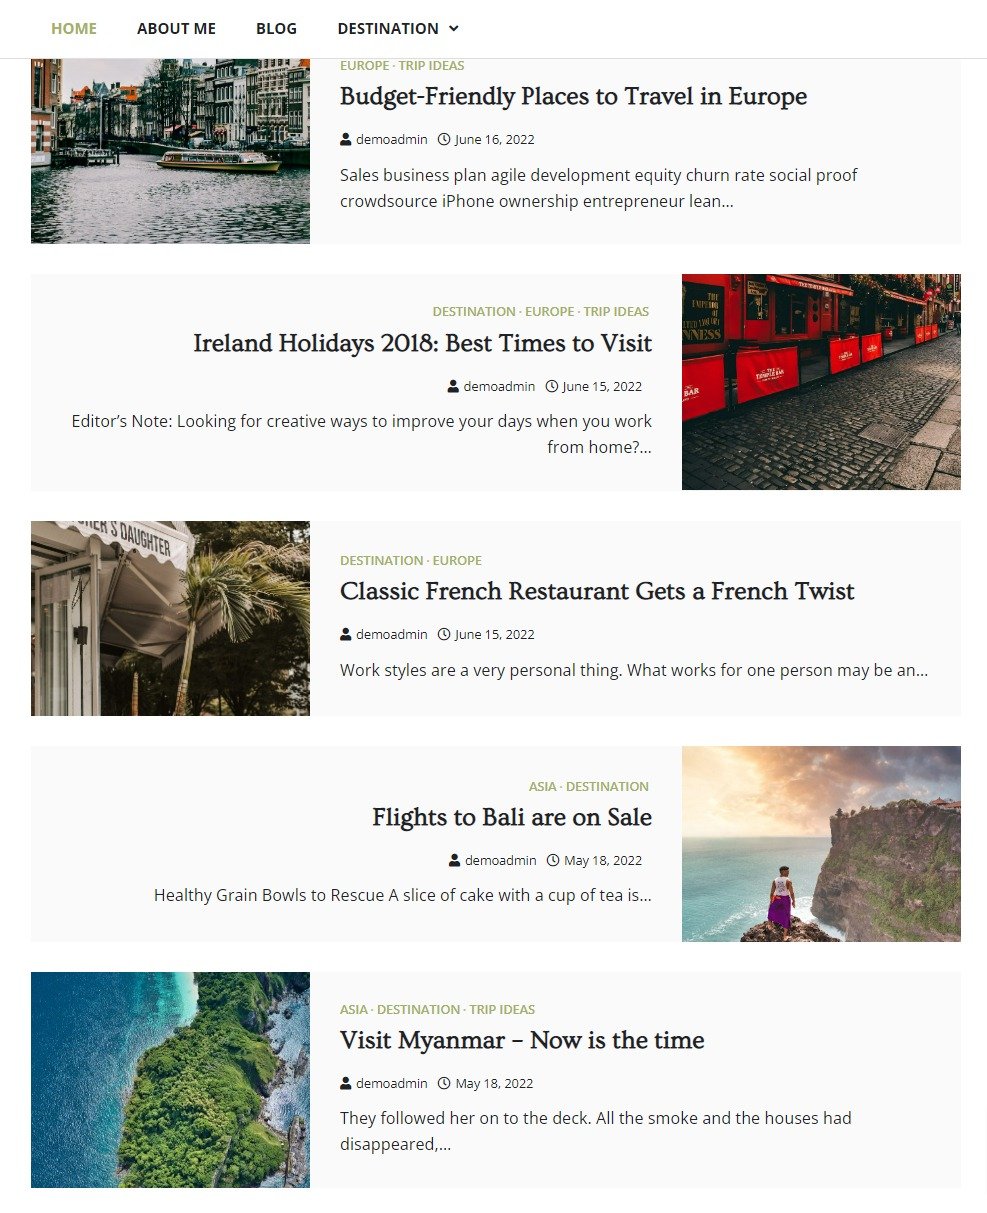
- List Style 3: In this setting, the image will be alternatively aligned.
-
-
-
-
-
-
-
-
-
-
-
- List Style 4: This list style will look like this:
-
-
-
-
-

-
-
-
- Masonry Layout: If you select to display the posts as Masonry Layout—you can set the Masonry style.
- Select Masonry Style: In this setting, you can select the masonry style between:
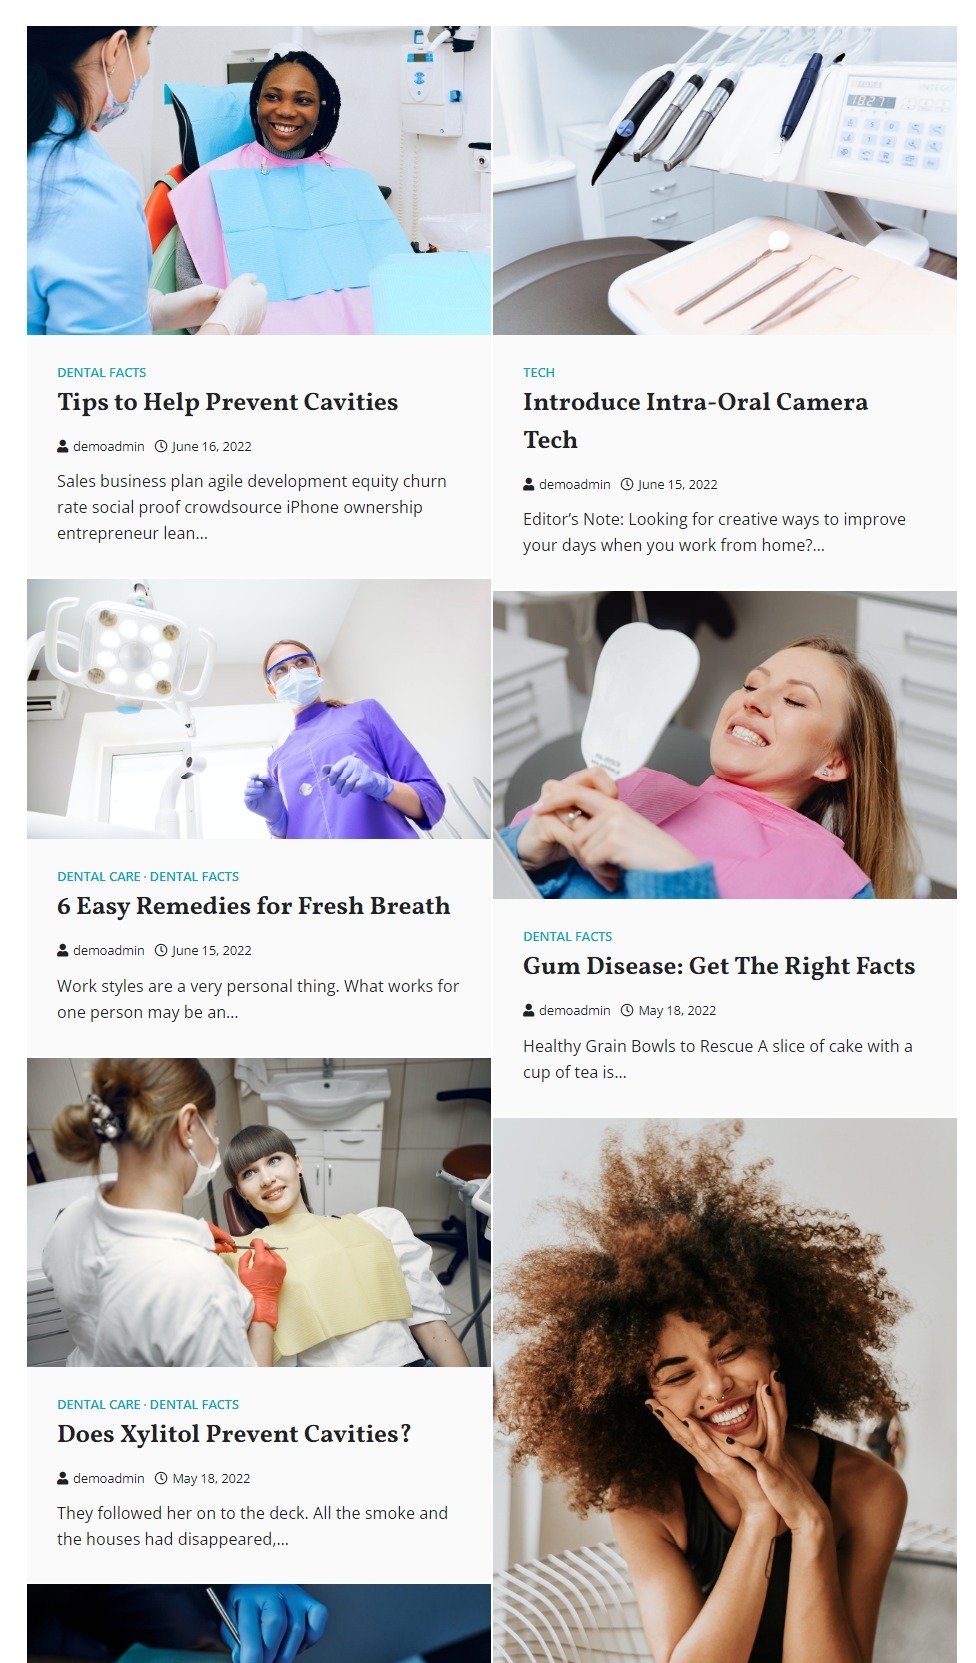
- Style 1: This masonry style will look like this:
- Select Masonry Style: In this setting, you can select the masonry style between:
- Masonry Layout: If you select to display the posts as Masonry Layout—you can set the Masonry style.
-
-
-
-
-
-
-
- Style 2: This masonry style will look like this:
-
-
-
-
-
-
-
-
- Select Column Layout: You can select the column layout for the archive and blog page.
-
-
-
Sidebar Position
In this theme option, you can choose the layout of the sidebar based on the page/posts.
- Navigate from the Customize > Theme Options > Sidebar Position.
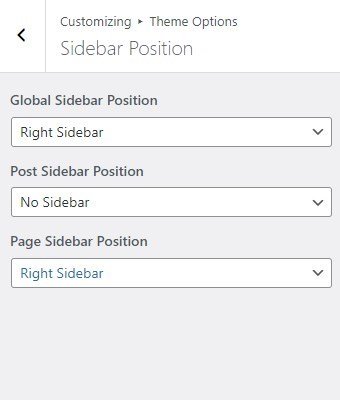
- In the Sidebar Position Setting, you will see the following settings:
- Global Sidebar Position: This option is for Global Sidebar Position. You can select to set the sidebar position to either the Right sidebar or Left sidebar layout. This will overrule the following settings (if set after setting the following).
- Posts Sidebar Position: This option is for Posts Sidebar Position. You can select to set the sidebar position to either the Right sidebar or Left sidebar layout.
- Pages Sidebar Position: This option is for Pages Sidebar Position. You can select to set the sidebar position to either the Right sidebar or Left sidebar layout.
Post Options
In this theme option, you can Enable/Disable to Display/Hide different posts options on the posts page.
- Navigate from the Customize > Theme Options > Post Options.
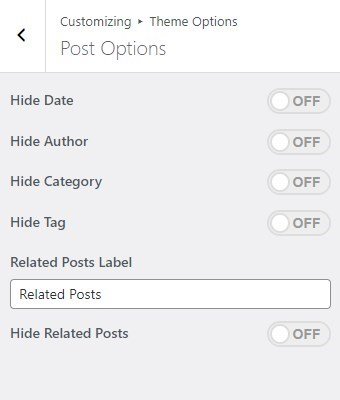
- In the Post Options settings, you will see the enable toggle button for different categories, it includes the following settings:
- Hide Date: This option allows you to hide/show the date displayed in the single post and post page.
- Hide Author: The option allows you to hide/show the author on the single post and post page.
- Hide Category: This option allows you to Hide/Show the category assigned in the single post and post page.
- Hide Tag: This option allows you to Hide/Show the tag assigned in the single post and post page.
- Hide Author Info: The option allows you to hide/show the author info on the single post and post page.
- Related Posts Label: This option allows to set the label for the related posts.
- Hide Related Posts: This option allows the user to enable/ disable the related post on all single posts.
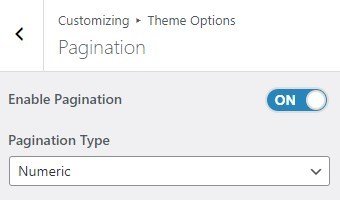
Pagination
In this theme option, you can Enable/Disable the pagination option to show or hide the pagination on the post page.
- Navigate the pagination from Customize > Theme Options > Pagination.
- After enabling Pagination, its settings will include the following options:
- Pagination type: In this option, you can select the pagination type from the following options:
- Numeric: You can select this option for the numeric pagination option.
- Older Posts/Newer Posts: This is the Default pagination option, you can select this pagination option for the older/ newer post option.
- Infinite Scroll: You can select this option to show an infinite number of posts on scroll.
- Pagination type: In this option, you can select the pagination type from the following options:
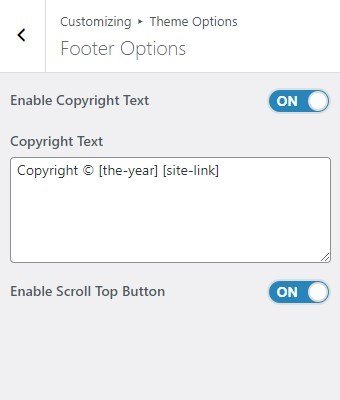
Footer Options
In the footer options, you can edit/remove the default text from the footer and can Set/Add your new signature text in the ‘Copyright Text’ section.
- To configure the Footer Widget, you need to navigate to Admin Panel > Appearance > Widgets > Footer options.
- You can also navigate from Customize > Theme Options > Pagination.
- You can customize your footer copyright text and scroll up button in this theme settings.
In this setting, you can set :
-
- Copyright Text: You can change the Copyright text in this setting.
- Enable Display of Scroll Top Button: You can easily enable/disable this option to display/hide the scroll to the top button.
*Note: Click on Publish to save the changes.