How To Set The Widgets – Ascendoor Categories Widget
In this section, you can Customize the Categories Widget.
- To configure the Categories Widget, you need to navigate from Admin Panel > Appearance > Customize > Widget > Widgets Section.
- In this section panel, you can select the section where you want to display the Categories Widget.
- After selecting the widget section Click on the Add a Widget button then select the Ascendoor Categories Widget and the user will see the following options:
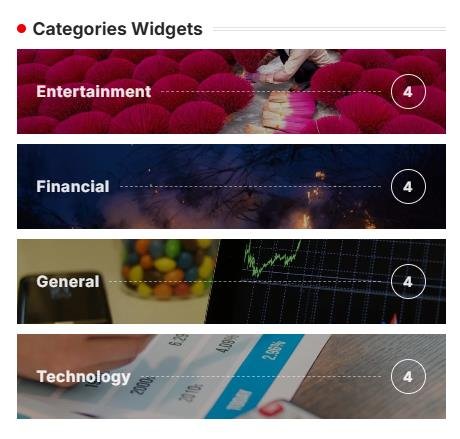
- Section Title: This setting allows the user to set the title for the Posts Carousel Widget.
- Select Category: This setting allows the user to select the category to show the category name and the number of category posts.
- Categories Image: This setting allows the user to select an image of a category by clicking the upload button.

Ascendoor Posts Grid Widget
In this section, you can Customize the Ascendoor Posts Grid Widget.
- To configure the Posts Grid Widget, you need to navigate from Admin Panel > Appearance > Customize > Widget > Widgets Section.
- In this section panel, you can select the section where you want to display the Posts Grid Widget.
- After selecting the widget section Click on the Add a Widget button then select the Ascendoor Posts Grid Widget the user will see the following options:
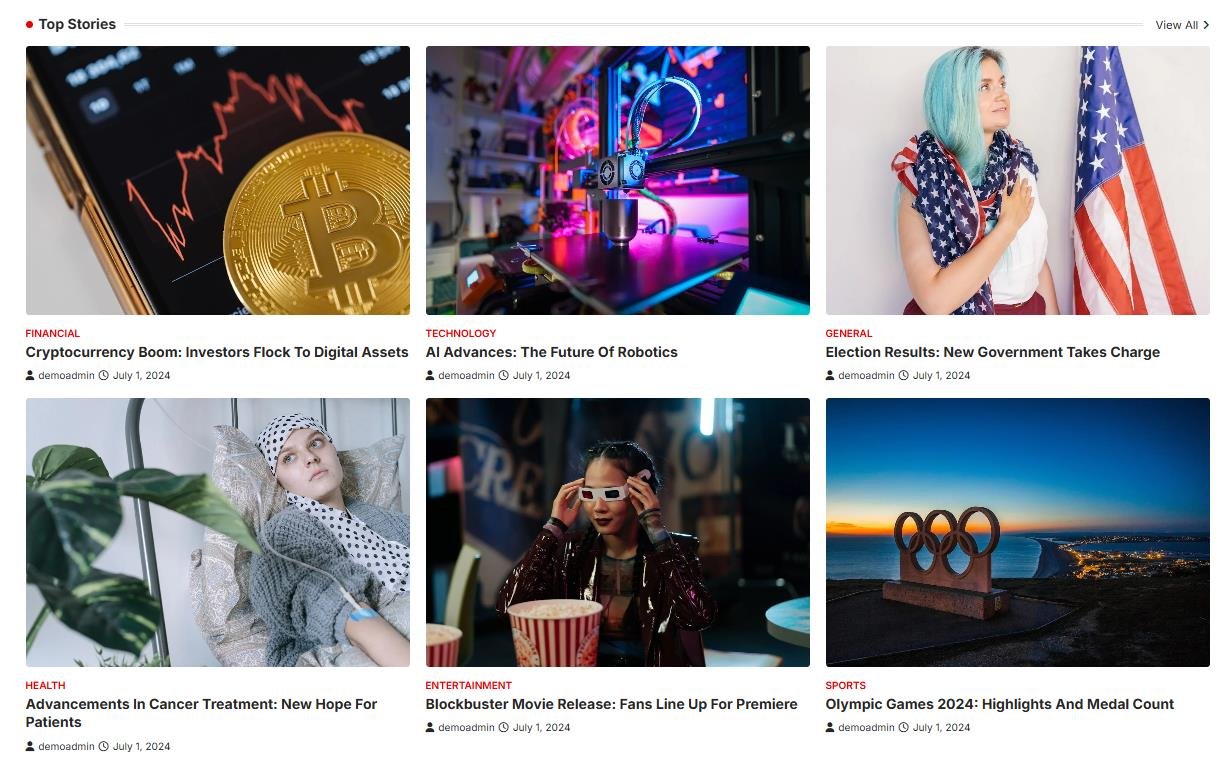
- Section Title: This setting allows the user to set the title for the first Posts Grid Widget.
- View All Button: This setting allows the user to set the label for the button.
- View All Button URL: This setting allows the user to set the link for the button. *Note if this field is empty it will direct to the category page.
- Number of posts to displace or pass over: This setting allows the user to exclude the number of posts from the selected category that the user would like to displace or pass over.
- Selecting Category: You can select the first category – select an Existing Category to display the title, featured image, and content of that selected post/page for the Posts Grid Widget.

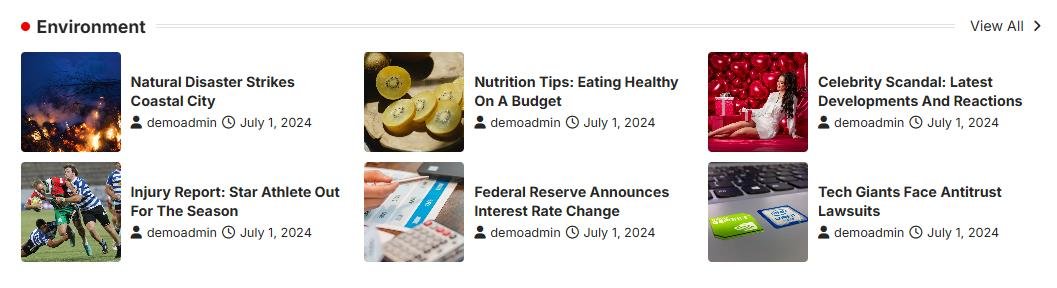
Ascendoor Posts List Widget
In this section, you can Customize the Ascendoor Posts List Widget.
- To configure the Posts List Widget, you need to navigate from Admin Panel > Appearance > Customize > Widget > Widgets Section.
- In this section panel, you can select the section where you want to display the Posts List Widget.
- After selecting the widget section Click on the Add a Widget button then select the Ascendoor Posts List Widget the user will see the following options:
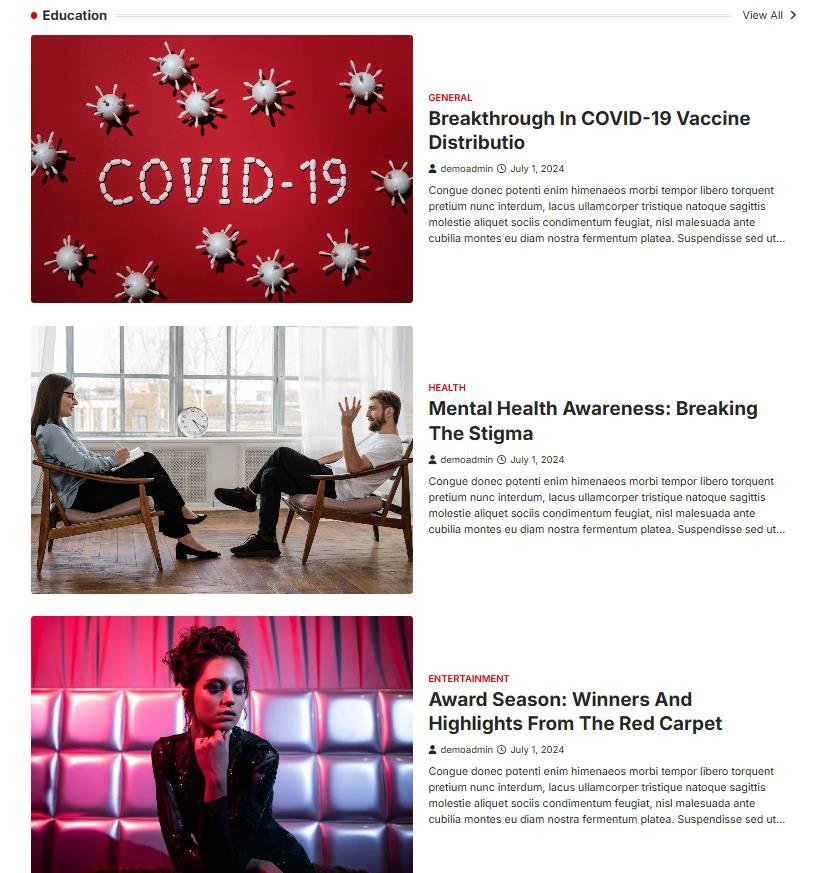
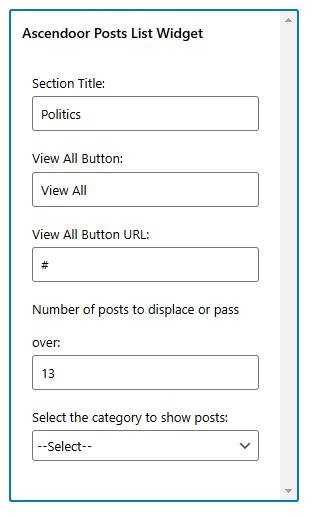
- Section Title: This setting allows the user to set the title for the first Posts List Widget.
- View All Button: This setting allows the user to set the label for the button.
- View All Button URL: This setting allows the user to set the link for the button. *Note if this field is empty it will direct to the category page.
- Number of posts to displace or pass over: This setting allows the user to exclude the number of posts from the selected category that the user would like to displace or pass over.
- Selecting Category: You can select the first category – select an Existing Category to display the title, featured image, and content of that selected post/page for the Posts List Widget.
Ascendoor Posts Small List Widget
In this section, you can Customize the Ascendoor Posts Small List Widget.
- To configure the Posts Small List Widget, you need to navigate from Admin Panel > Appearance > Customize > Widget > Widgets Section.
- In this section panel, you can select the section where you want to display the Posts Small List Widget.
- After selecting the widget section Click on the Add a Widget button then select the Ascendoor Posts Small List Widget the user will see the following options:
- Section Title: This setting allows the user to set the title for the first Posts Small List Widget.
- View All Button: This setting allows the user to set the label for the button.
- View All Button URL: This setting allows the user to set the link for the button. *Note if this field is empty it will direct to the category page.
- Number of posts to displace or pass over: This setting allows the user to exclude the number of posts from the selected category that the user would like to displace or pass over.
- Selecting Category: You can select the first category – select an Existing Category to display the title, featured image, and content of that selected post/page for the Posts Small List Widget.

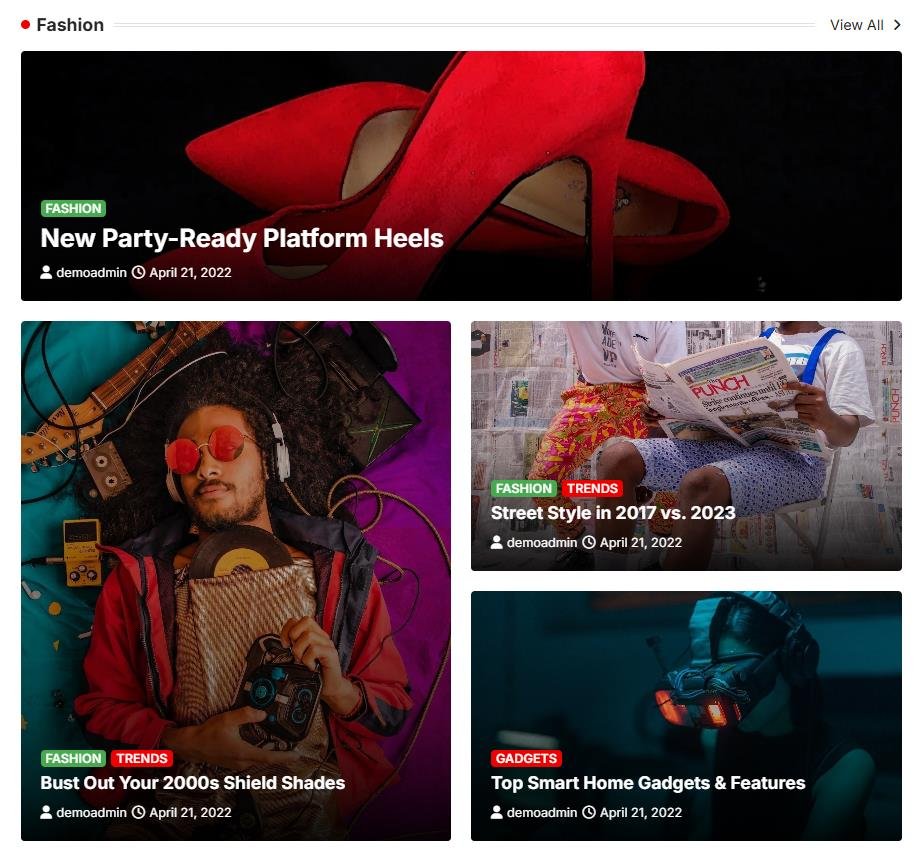
Ascendoor Posts Tile Widget
In this section, you can Customize the Posts Tile Widget.
- To configure the Posts Tile Widget, you need to navigate from Admin Panel > Appearance > Customize > Widget > Widgets Section.
- In this section panel, you can select the section where you want to display the Posts Tile Widget.
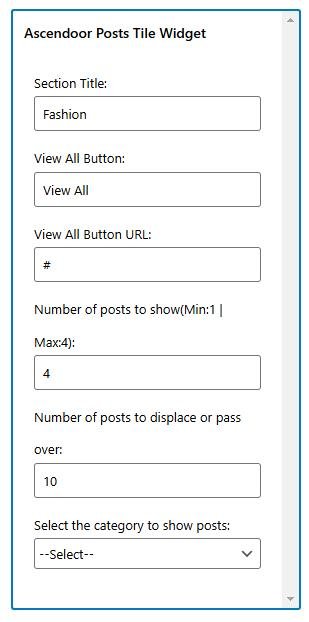
- After selecting the widget section Click on the Add a Widget button then select the Ascendoor Posts Tile Widget the user will see the following options:
- Section Title: This setting allows the user to set the title for the first Posts Tile Widget.
- View All Button: This setting allows the user to set the label for the button.
- View All Button URL: This setting allows the user to set the link for the button. *Note if this field is empty it will direct to the category page.
- Number of posts to displace or pass over: This setting allows the user to exclude the number of posts from the selected category that the user would like to displace or pass over.
- Selecting Category: You can select the first category – select an Existing Category to display the title, featured image, and content of that selected post/page for the Posts Tile Widget.
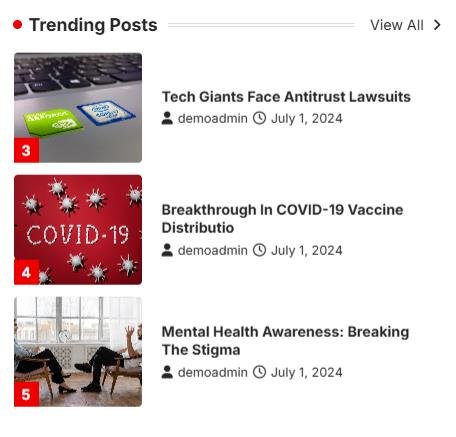
Ascendoor Trending Posts Widget
In this section, you can Customize the Trending Posts Widget.
- To configure the Trending Posts Widget, you need to navigate from Admin Panel > Appearance > Customize > Widget > Widgets Section.
- In this section panel, you can select the section where you want to display the Trending Posts Widget.
- After selecting the widget section Click on the Add a Widget button then select the Ascendoor Trending Posts Widget the user will see the following options:
- Section Title: This setting allows the user to set the title for the first Trending Posts Widget.
- View All Button: This setting allows the user to set the label for the button.
- View All Button URL: This setting allows the user to set the link for the button. *Note if this field is empty it will direct to the category page.
- Number of posts to displace or pass over: This setting allows the user to exclude the number of posts from the selected category that the user would like to displace or pass over.

Ascendoor Social Icons
In this section, you can Customize the Social Icons Widget.
- To configure the Social Icons Widget, you need to navigate from Admin Panel > Appearance > Customize > Widget > Widgets Section.
- In this section panel, you can select the section where you want to display the Social Icons Widget.
- After selecting the widget section Click on the Add a Widget button then select the Ascendoor Social Icons Widget the user will see the following options:
- Section Title: This setting allows the user to set the title for the first Social Icons Widget.
- Select Menu: This setting allows the user to select the social menu for this section.

* Click on done and publish to save the progress. You can also drag the widgets to sort the position.