Ascendoor Widgets
You can add ascendoor widgets to the Elementor page as well. to add the ascendoor widgets follow the following steps: *Note: Please view this for more information.
-
-
- You need to edit a page with Elementor and at the end of the page you can see the following option:
-

-
-
- In the left panel with the elements, click on the widgets panel and drag and drop the widget from the panel into your section.
- We can see multiple widgets—Basic, Pro, General, Site, WooCommerce, and WordPress. The accessible widgets group is Basic, General, and WordPress.
- To add ascendoor widgets you need to navigate to the WordPress Widgets Group— ascendoor widget groups are included in it.
- For the Elementor page—you can add widgets according to your style. Most preferably the widget “Ascendoor Posts Tile and List Widgets” is suitable as page content. Whereas widgets such as “Ascendoor trending post carousel”, “Ascendoor Posts Tab”, “Ascendoor Author Info” and the “Ascendoor social icons”, are suitable for the footer and sidebar section.
- You can get the overview of the ascendoor widgets from here.
-
Edit Ascendoor Widgets in Elementor
After adding the desired ascendoor widget to the Elementor page you will see the following setting:
In this section, you can Customize the Posts Tile And List Widget.
- In this section panel, you can select the section where you want to display the Posts Tile And List Widget.
- After selecting the widget section Click on the Add a Widget button then select the Ascendoor Posts Tile And List Widget the user will see the following options:
-
- Section Title: This setting allows the user to set the title for the first Posts Tile And List Widget.
- View All Button: This setting allows the user to set the label for the button.
- View All Button URL: This setting allows the user to set the link for the button. *Note if this field is empty it will direct to the category page.
- Number of posts to show: This setting allows users to set the number of posts to display in the section.
- Number of posts to displace or pass over: This setting allows the user to exclude the number of posts from the selected category that the user would like to displace or pass over.
- Selecting Category: You can select the first category—select an Existing Category to display the title, featured image, and content of that selected post/page for the Posts Tile And List Widget.
- Order By: This option allows users to set the order in which the posts would be displayed. Users can choose to order the posts by Published date or in alphabetical order.
-
- Published Date: This option allows the user to set the order of the posts based on the post’s published date.
- Alphabetical Order: This option allows the user to set the order of the posts based on the Alphabetical order of the post’s title.
-
- Sort By: This option allows the users to choose how to sort their posts.
-
- Ascending Order: This will sort the posts in ascending order based on the order the user selects.
- Descending Order: This will sort the posts in ascending order based on the order the user selects.
-
-


After finishing the settings for the Ascendoor widgets you have to apply the settings then click on the update to update the changes to the page.
Custom Elementor Widgets
To add a custom layout to a website, follow these steps:
- Add a new Elementor Page Builder section to the website editing screen.
- In the left panel with the elements, click on the widgets panel and drag and drop the widget from the panel into your section then click on update to set the changes.

-
-
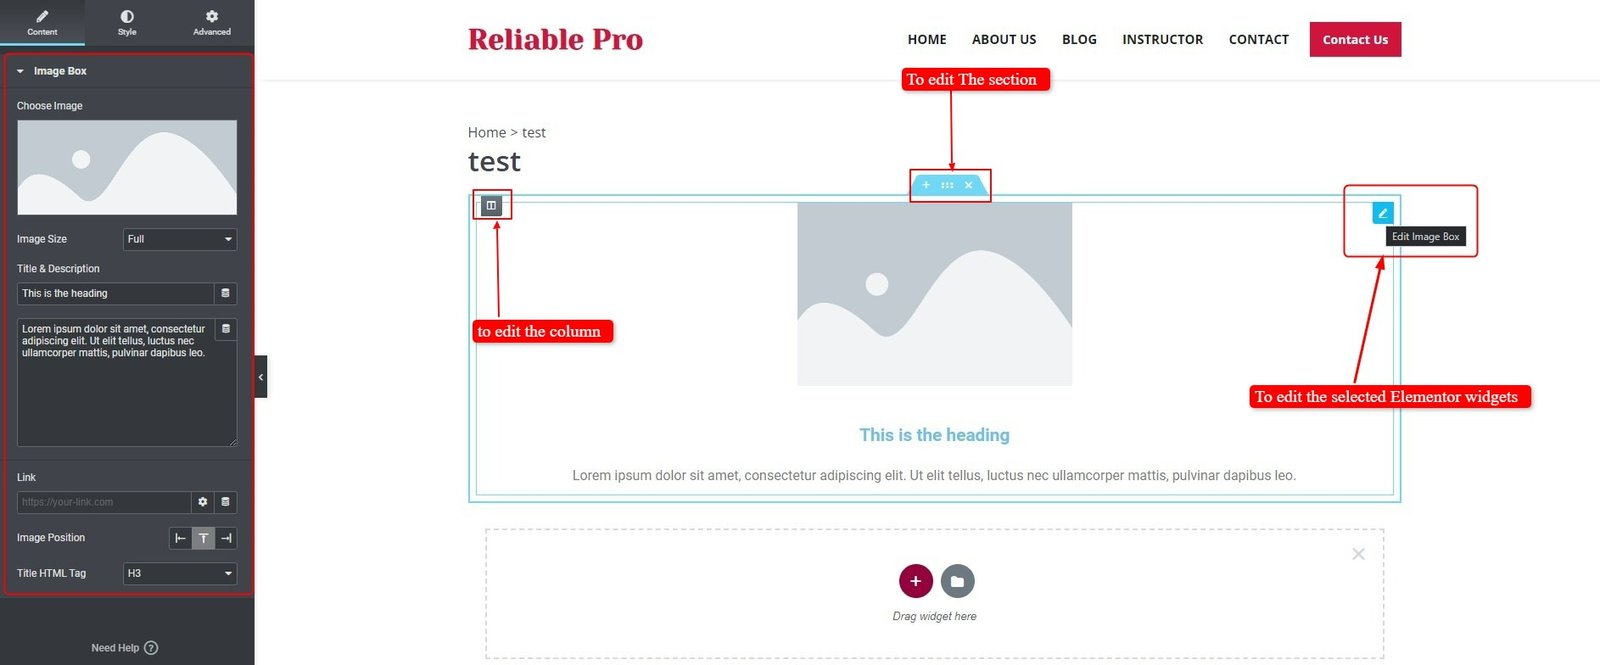
- After adding the desired widgets to the page, you can edit the section, column, or the widget.
-
-
-
- Then you get further settings to customize the section.
-

Elementor Widgets Overview
Heading
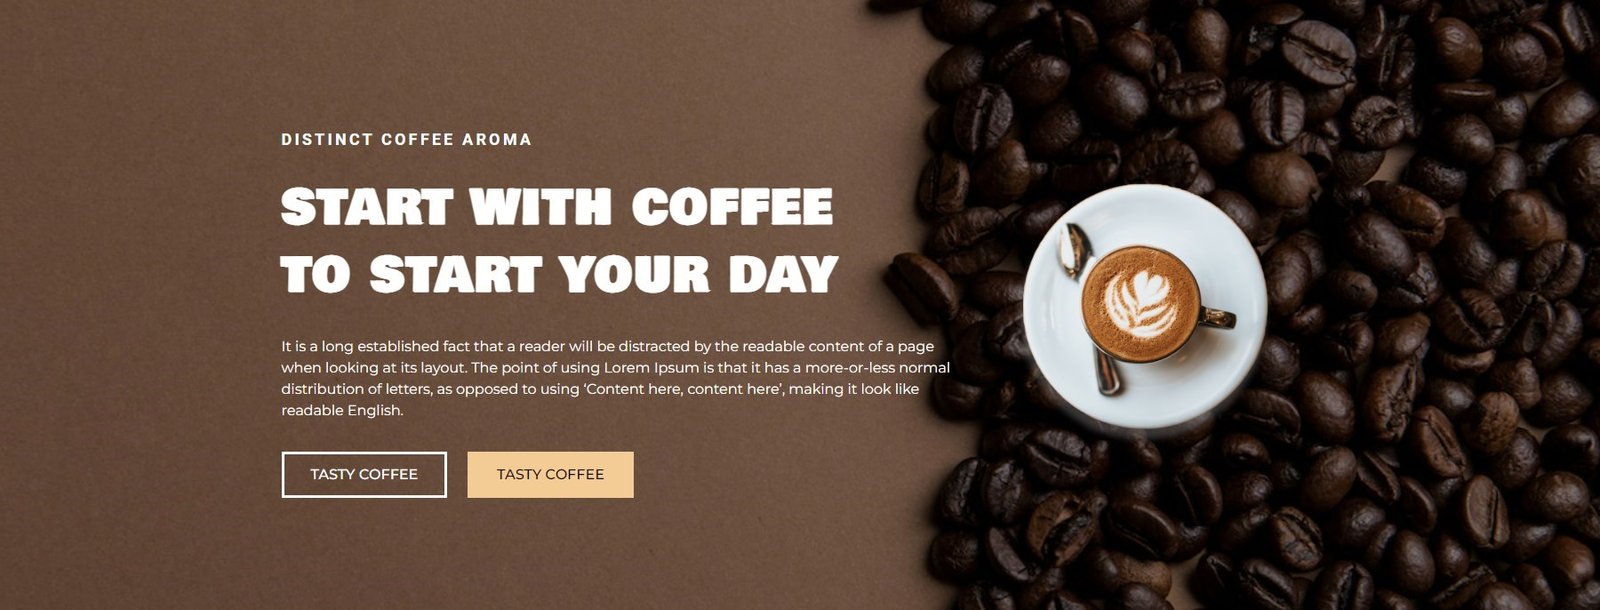
This Elementor widget inserts a regular title for any section.
Image
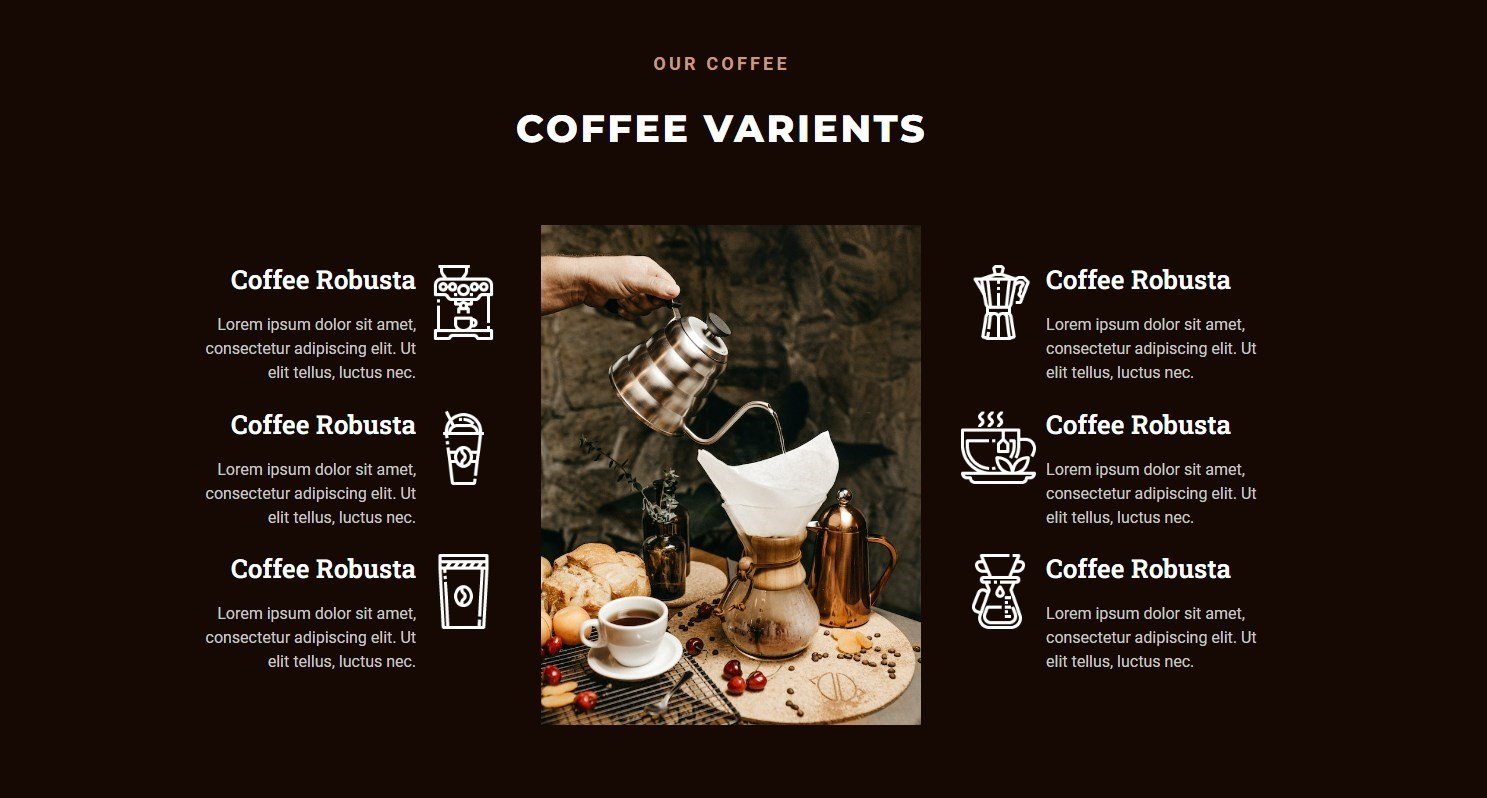
This Elementor widget displays the image.
Text Editor
Video
Button
Divider
Spacer
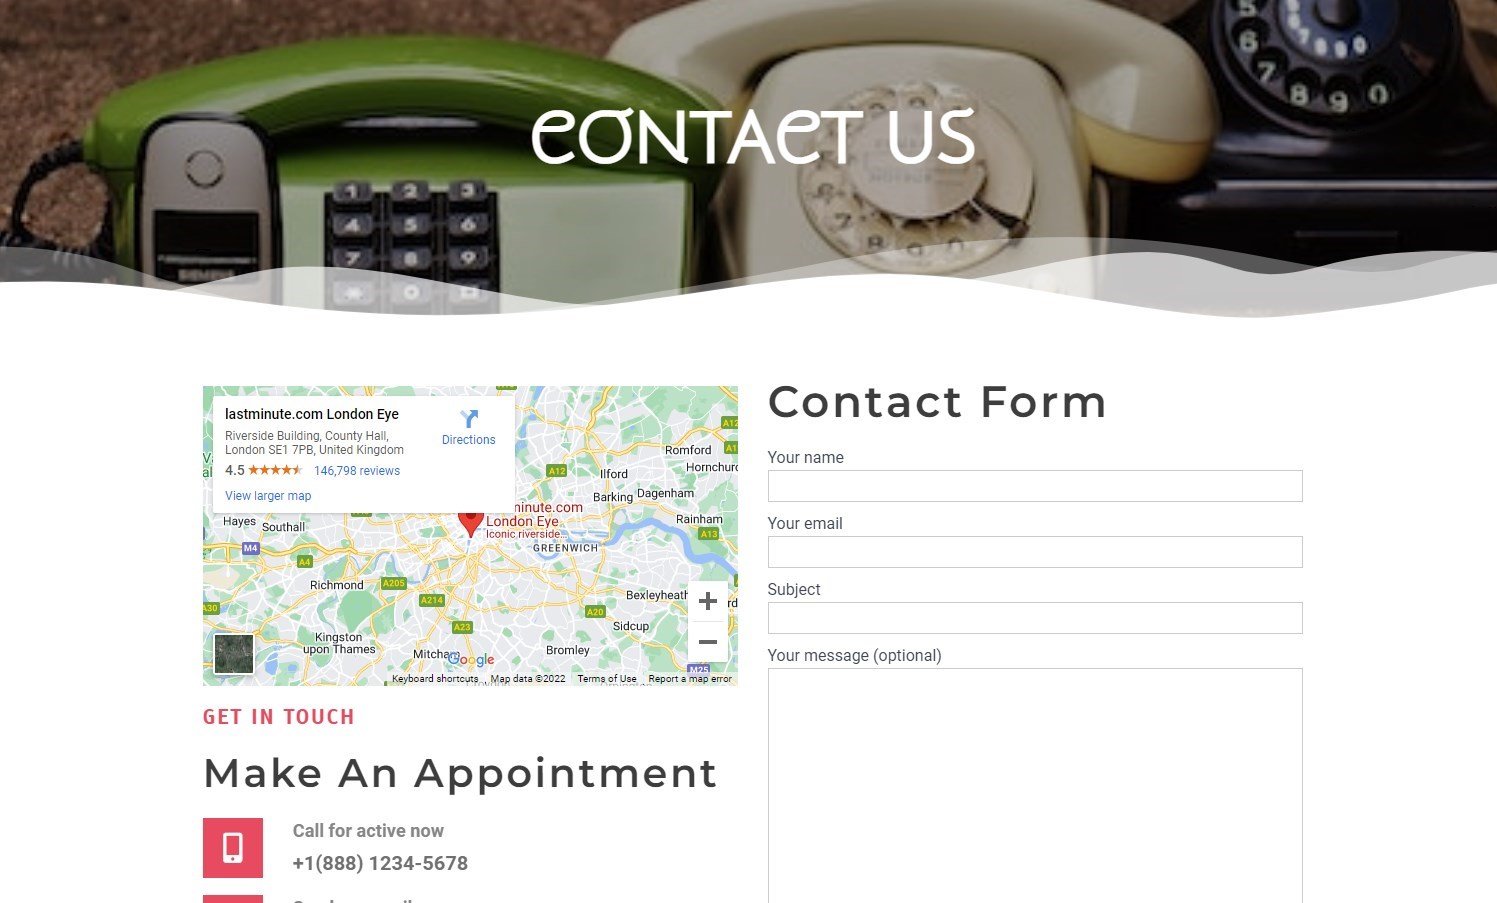
Google Maps:
Star Rating

Image Carousel

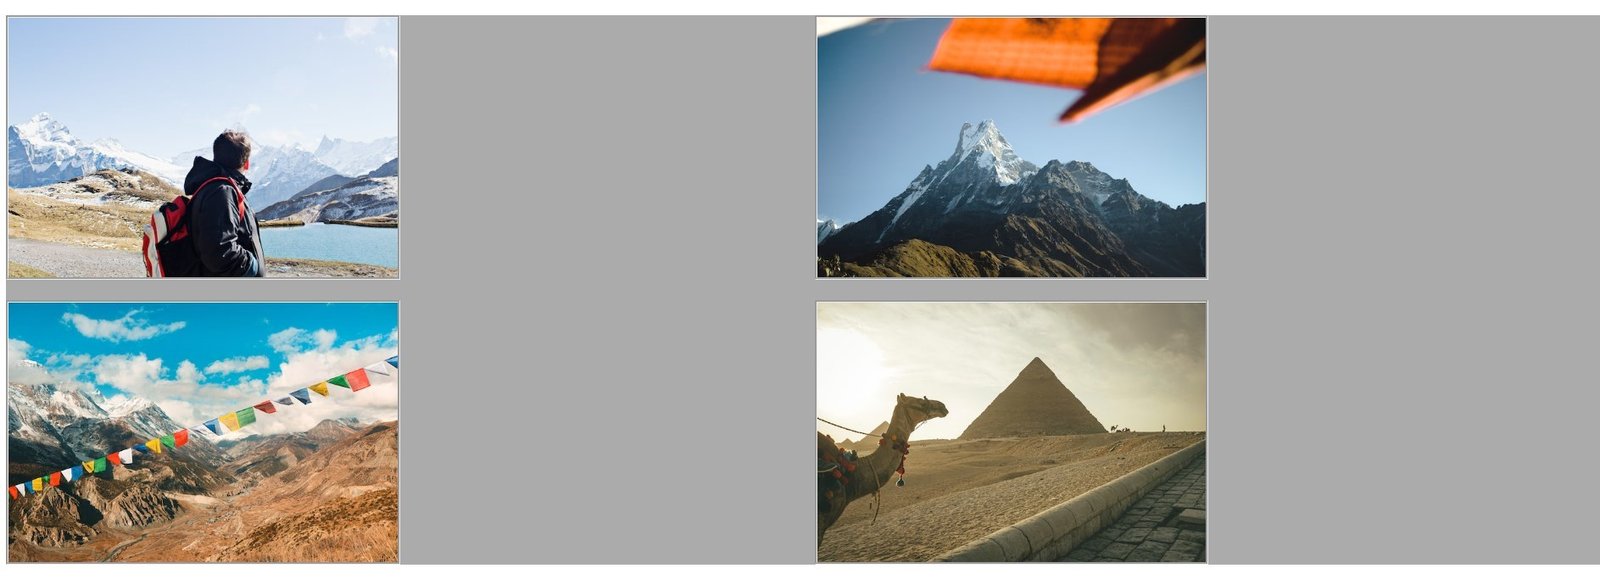
Basic Gallery
Icon List
![]()
Counter

Progress Bar

Testimonial

Tabs

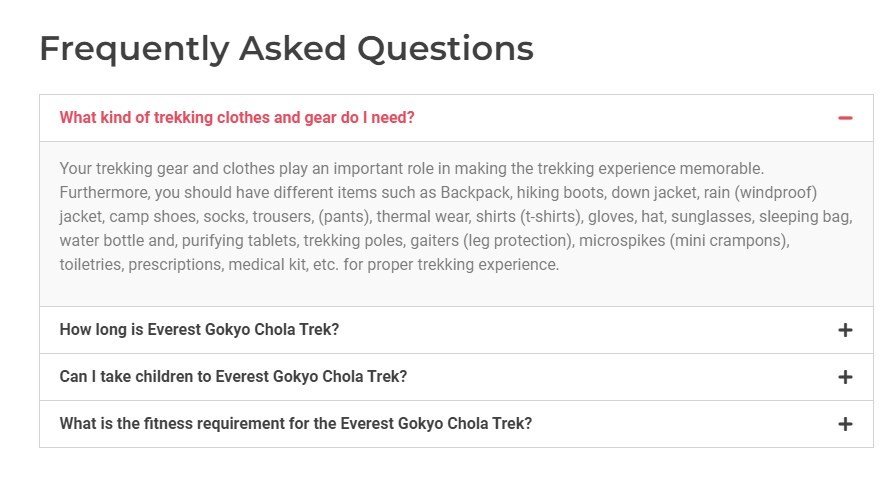
Accordion
Toggle
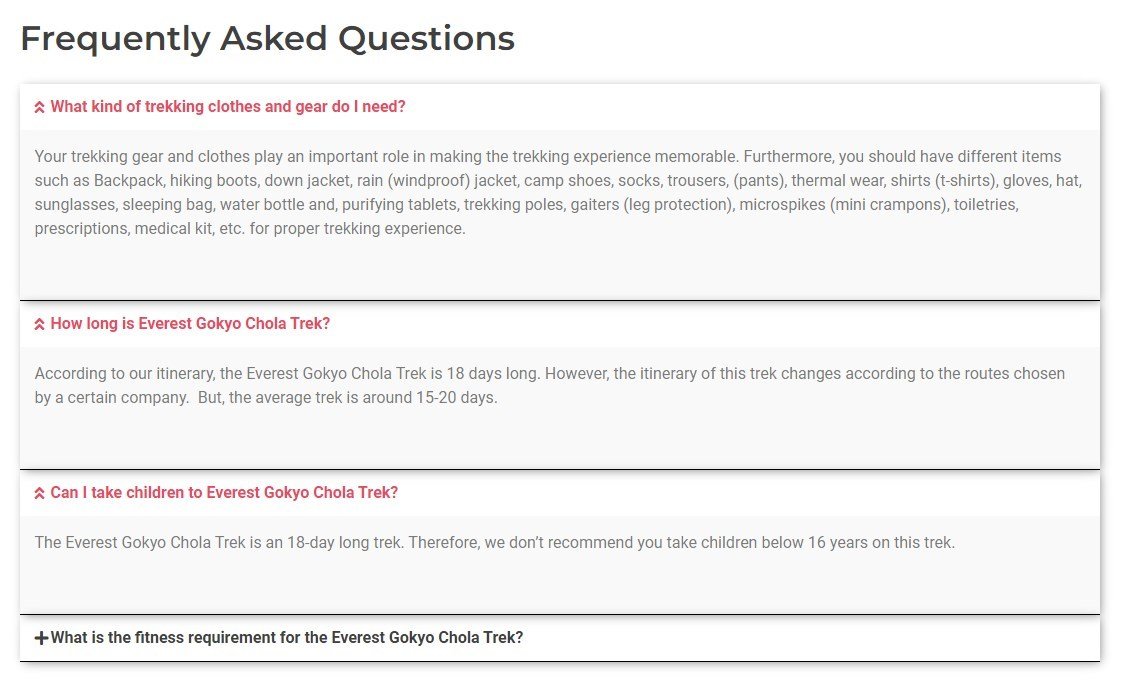
Toggle

Alert
