How to Manage Front Page Options– Banner Slider Section
You can set the banner Post/Product and set different other options for the banner Slider section.
- To configure the Banner Slider section, you need to navigate from Admin Panel > Appearance > Customize > Front Page Options > Banner Slider Section.
- In this section pane, you can Enable/Disable the Banner section to display Banner on the Frontpage otherwise disable it to hide.
- Right after enabling the Banner Slider section, you can set the following settings:
-
- Select a content type: page or post for the Banner section.
- Content Type: This setting allows you to select the kind of content to choose from. It contains select options (Post or Product) which allow the user to select a page/post to display as a Banner.
- Select a content type: page or post for the Banner section.
-
-
-
-
-
- Selecting Post/Product as Content Type allows you to select a page/post (Existing post/ product) to display the title, featured image, and content of that selected post/page as a Banner. *After selecting the desired content type as page/ post, you can now set the following section for the banner:
-
- Button Label: You can set the label for the button.
- Button Link: You can set the link for the button.
- Video Link: You can add a Video link in this section.
-
-

Categories Section
In this section, you can customize the categories section.
- To configure the Categories section, you need to navigate to Admin Panel > Appearance > Customize > Front Page Options > Categories Section.
- In this section panel, you can enable the Categories Section to display the categories section on the frontpage and can disable the section to Hide the Categories section on the frontpage. After enabling the Categories Section, the user can set the following options:
-
-
- Section Title: This setting allows the user to set the Title for the categories section.
- Section Text: This setting allows the user to set the Text for the categories section.
- Select Taxonomies: This option allows the user to select the desired taxonomies to display in the categories section.
- Select Category: You can select existing Categories to display the posts of the category for the Category Section.
- Category Image: This setting allows the user to set the image for the individual categories section.
-

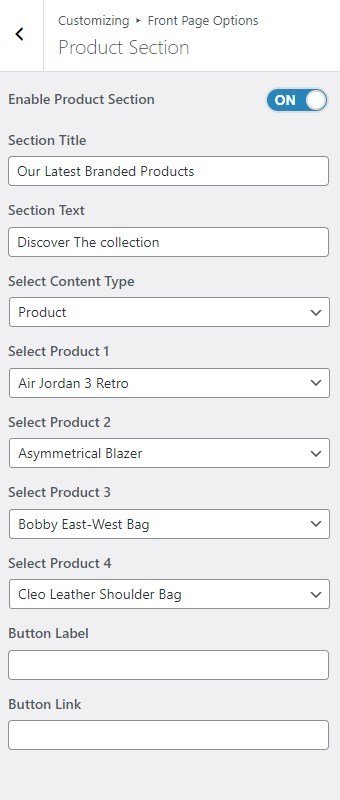
Product Section
In this section, the user can set the Product section.
*Note: You need to install and activate WooCommerce to customize this setting.
- To configure the Product section, you need to go to Admin Panel > Appearance > Customize > Front Page Options > Product Section.
- You can enable the counter section to display the Product section on the front page and disable the product section to hide.
- After enabling the Product section, the user will see the options to set:
-
- Section Title: This setting allows the user to set the section title for the Product section.
- Section Text: This setting allows the user to set the section text for the Product section.
- Select a content type: page or post for the Product section.
- Content Type: This setting allows you to select the kind of content to choose from. It contains select options (Product, and Recent Product) which allow the user to select a page/post to display for the Product section.
-
- Selecting Product, and Recent Product as Content Type allows the user to select a Product, and Recent Product to display the title, featured image, and content that selected for the Section.
-
- Content Type: This setting allows you to select the kind of content to choose from. It contains select options (Product, and Recent Product) which allow the user to select a page/post to display for the Product section.
-
-
-
- Button Label: This is the label for the button for the products section.
- Button Link: This setting sets the Link for the button.
-
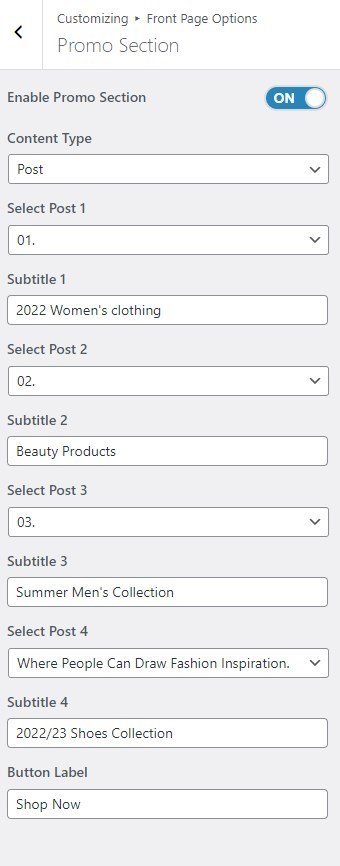
Promo Section
In this section, the user can set / Customize the Promo Section.
- To configure the Promo Section, you need to navigate from Admin Panel > Appearance > Customize > Front Page Options > Promo Section.
- In this section panel, you can Enable/Disable the Promo Section to display the section on the Frontpage otherwise disable it to hide.
- Right after enabling the Promo Section, you can set the following settings:
-
-
- Select a content type: Page, Post, Categories, or Product for the Promo Section.
- Content Type: This setting allows you to select the kind of content to choose from. It contains select options (Post, or Product Categories) which allow the user to select a page/post to display as a Promo.
- Selecting Post / Product Categories as Content Type allows you to select a Post / Product Categories (Existing post/product category) to display the title, featured image, and content of that selected post/page for the Promo Section.
- Subtitle: This setting allows the user to set the subtitle for the post/page/category/ product in the section.
- Content Type: This setting allows you to select the kind of content to choose from. It contains select options (Post, or Product Categories) which allow the user to select a page/post to display as a Promo.
- Button Label: You can set the label for the button.
- Select a content type: Page, Post, Categories, or Product for the Promo Section.
-
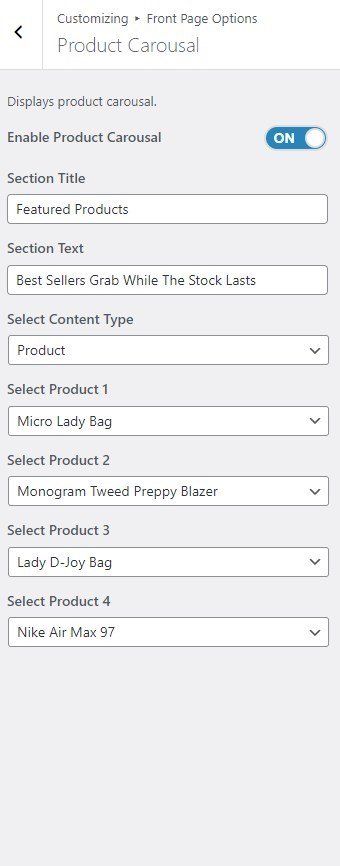
Product Carousel
In this section, the user can set the Product Carousel Section.
*Note: You need to install and activate WooCommerce to customize this setting.
- To configure the Product Carousel Section, you need to go to Admin Panel > Appearance > Customize > Front Page Options > Product Carousel Section.
- You can enable the counter section to display the Product section on the front page and disable the product section to hide.
- After enabling the Product Carousel Section, the user will see the options to set:
-
- Section Title: This setting allows the user to set the Section Title for the product Carousel Section.
- Section Text: This setting allows the user to set the Section Text for the Product Carousel Section.
- Select a content type: page or post for the Product Carousel section.
- Content Type: This setting allows you to select the kind of content to choose from. It contains select options (Product, and Recent Product) which allow the user to select a page/post to display for the Product Carousel section.
- Selecting Product, and Recent Product as Content Type allows the user to select a Product, and Recent Product to display the title, featured image, and content that selected for the Section.
- Content Type: This setting allows you to select the kind of content to choose from. It contains select options (Product, and Recent Product) which allow the user to select a page/post to display for the Product Carousel section.
-
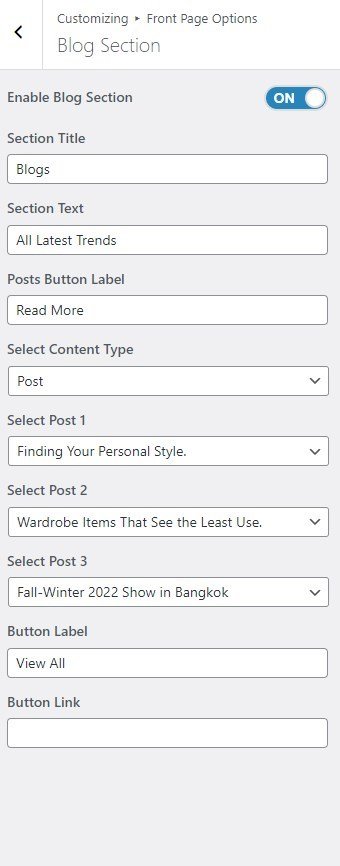
Blog Section
In this section, you can customize the blog section.
- To configure the Blog section, you need to navigate to Admin Panel > Appearance > Customize > Front Page Options > Blog Section.
- In this section panel, you can enable the section to display the Blog section on the frontpage, and disable the section to Hide the Blog section on the frontpage. After enabling the Blog Section, the user will see the following options:
-
-
- Section Title: This setting allows the user to set the title for the section.
- Section Text: This setting allows the user to set the title for the section.
- Post Button Label: This setting allows you to set the button for the blog post.
- Select a content type: page or post for the Blog Section.
- Content Type: This setting allows you to select the kind of content to choose from. It contains select options (Post or Category) which allow the user to select a page/post to display as a Blog Section.
- Selecting Post/Category as Content Type allows you to select a page/post (Existing post/ category) to display the title, featured image, and content of that selected post/page as a Banner. *After selecting the desired content type as post/category, you can now set the following section for the blog:
- Content Type: This setting allows you to select the kind of content to choose from. It contains select options (Post or Category) which allow the user to select a page/post to display as a Blog Section.
- Button label: This setting allows the user to set the button label for the Section.
- Button Link: This setting sets the Link for the button.
-
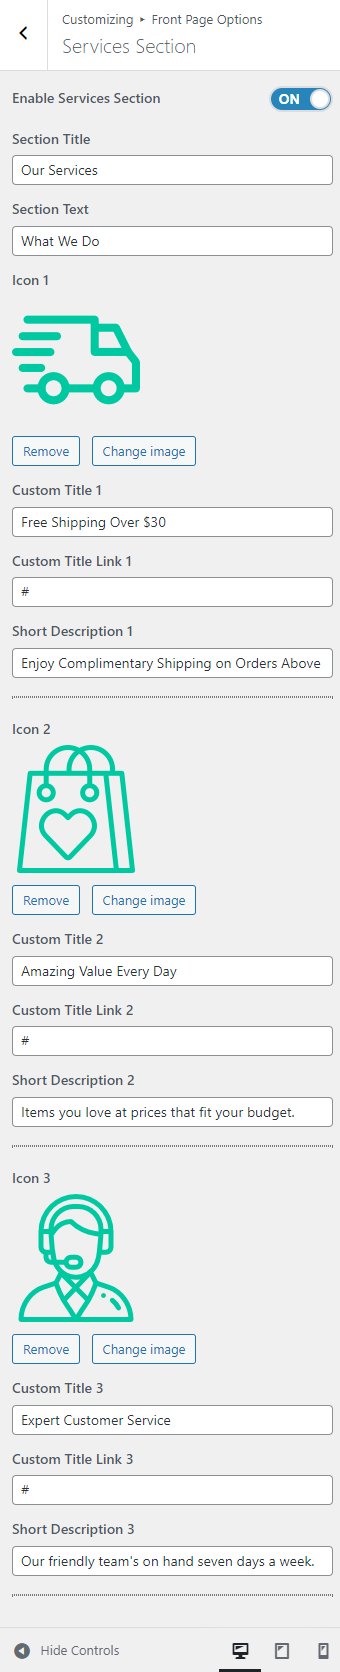
Services Section
In this section, you can set/ customize the Services section.
- To configure the Service section, you need to navigate from Admin Panel > Appearance > Customize > Front Page Options > Services Section.
- In this section panel, you can enable/disable the Services section to display/hide the Services Section. After enabling the Service section, the user will see the following options:
-
- Section Title: This setting allows the user to set the title for the Service section.
- Section Text: This setting allows the user to set the Section text for the Service section.
- Icon: You can add a icon for the Service Section.
- Custom Title: In this section, you can add the custom title for the Service Section.
- Custom Title Link: In this setting, you can add a link for the Service.
- Short Description: You can custom add a description for the Service.
-
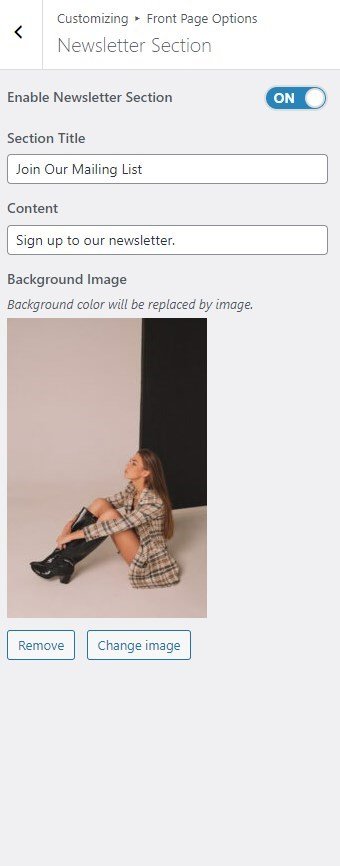
Newsletter Section
In this section, you can customize the Newsletter section.
- To configure the Newsletter section, you need to go to Admin Panel > Appearance > Customize > Front Page Options > Newsletter Section.
- In this section panel, you can enable the section to display the Newsletter section on the frontpage, and disable the section to Hide the Newsletter section on the frontpage. After enabling the Newsletter Section, the user will see the following options:
-
- Section Title: This section allows the user to set the section title for the Newsletter section.
- Content: This section allows the user to set the content for the Newsletter section.
- Background Image: This section allows the user to set the background image for the section.
-
*Note: Click on Publish to save the changes.